Good morning!
We’re in our second day of A Swell Noel, and the darling and talented Traci from Beneath My Heart is here to share a gift and decor project I can’t wait to try: personalized Christmas ornaments that don’t break the bank to make!
***
Hello!
I am so happy to be over here at Amy’s lovely blog again!
My name is Traci, and I blog at Beneath My Heart.

When Amy told me about the series she was planning on her blog, I knew I wanted to be a part of it.
I love handmade gifts at Christmas time! There is something so special about a gift that someone took the time to make with their own two hands, don’t you think?
So I started brainstorming about something I could make…and make CHEAP! Let’s admit it. Times are tough for all of us. We want to bless others with gifts at Christmas time, but sometimes we do not have a lot of money in which to do it. Well, I say we get creative and see what kind of beautiful things we can make for pennies!
Here is what I came up with…
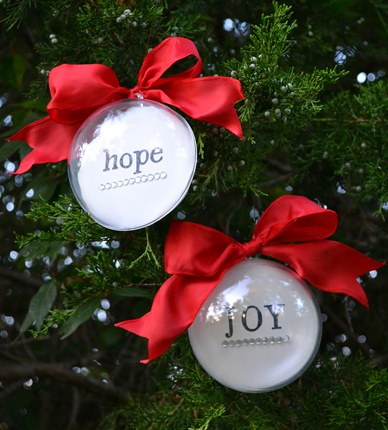
These festive and simple ornaments only cost me 45 cents a piece to make! (I’ll explain more about the cost in a minute.)
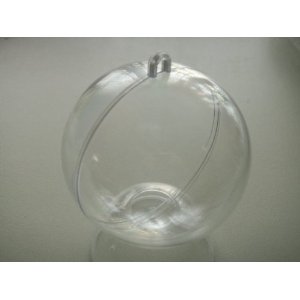
All I had to do was purchase one of these clear plastic ornaments at Hobby Lobby.
This ornament costs $1.49 at Hobby Lobby, but with my 40% off coupon, I got it for about 90 cents.
I decided to make two ornaments out of this one ball, so I had about 45 cents in each ornament.
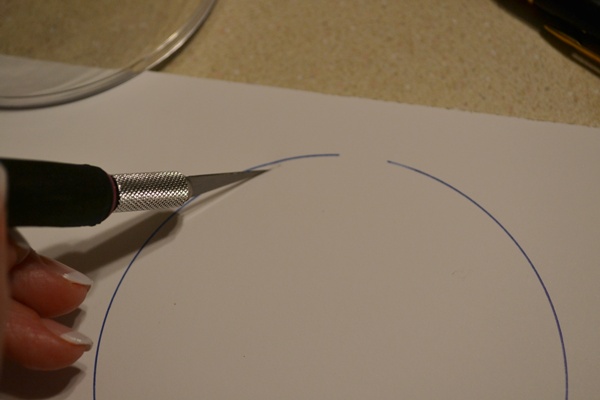
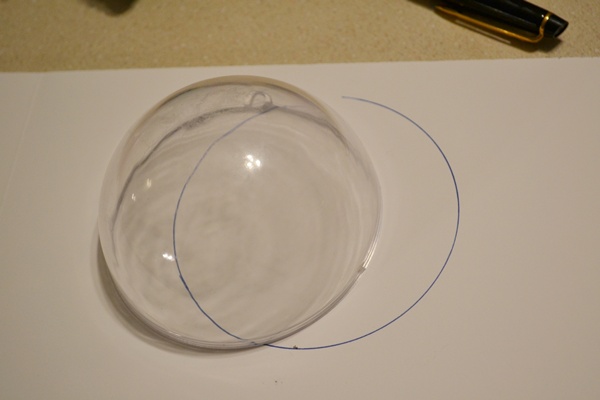
I took half of the ornament and traced it on some craft foam board that I already had. (You could use cardboard from a box or anything else that is a little sturdier than paper. Be creative! Just look around your house and see what you can use!)
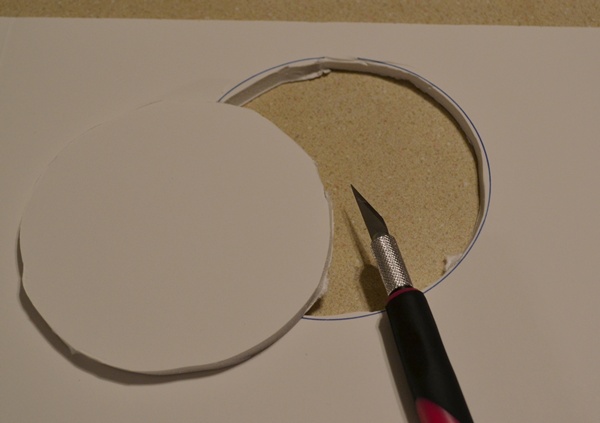
I used an Exact-o Knife to cut a little inside of the circle so my foam board would fit in my ornament.
Now it was time to decorate the ornament.
Now I have to admit, I didn’t have to pay for the rest of the supplies because they were things I had in my craft boxes from previous craft projects. I already had the ribbon, the alphabet stickers, and the sticky rhinestones in my craft supplies (all of which were purchased at Hobby Lobby last year). You could use whatever left over craft supplies you have in your home to make your ornaments too!
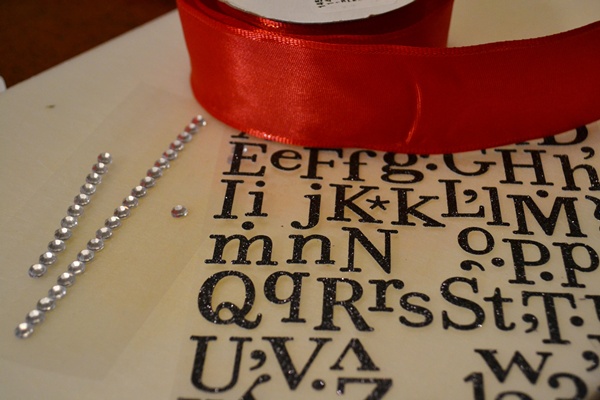
I decided to see what kind of “Christmasey” words I could make with my stickers, and I decided on “JOY” and “hope”.
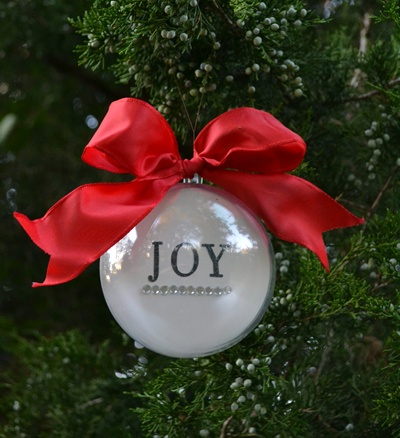
I simply added the self-sticking rhinestones under the words to give it some Christmas “bling.”
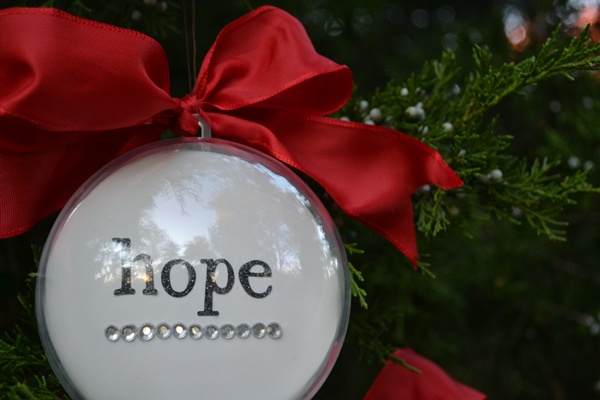
I was planning on gluing the foam board to the inside of the plastic ornament, but I didn’t need to. It fit so snugly inside the plastic ornament, that it is not going anywhere. 🙂 But if you felt the inside of your ornament needed a little extra support, you could apply craft glue to the sides to help hold it in place.
I love the way the white inside the ornament and the bright red ribbon show up against the greenery of the tree!
For fun, I used some scrapbook paper I already had, cut it out in the same shape of the ornament, and glued it to the back with some adhesive spray.
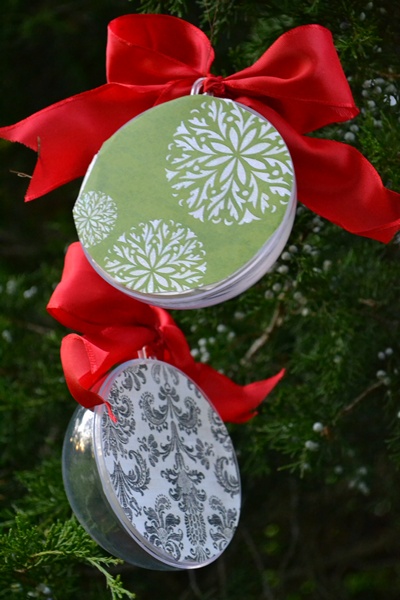
I really do love the way they turned out!
If I had not already had all of these supplies on hand, I would have gotten them at the dollar store. I think you could get some ribbon, alphabet stickers, “bling”, and sturdy board for about $4.00 at the dollar store. That would make each ornament cost about $2.45! Not bad for a gift for a loved one, teacher, or neighbor, right?!
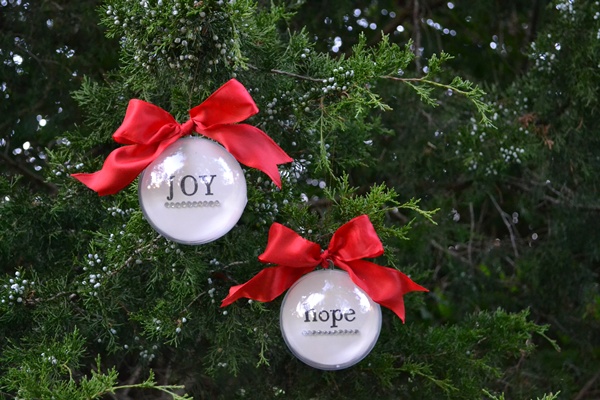
Wouldn’t these ornaments be cute with a child’s name in it, or a monogram, or maybe even a picture of someone?
I am brainstorming some more ideas to make with these clear plastic ornaments!
I hope you stop by my blog and see what I come up with!
Thanks again, Amy! It’s always an honor to be here with you. 🙂
***
Traci, these are absolutely terrific! I do see these as being the perfect gift option for teachers, school and church friends, or any number of recipients. Thanks so much for stopping by!

Having grown up in a home brimming with sewing notions and paintbrushes, Amy has a deep love for all things creative. On any given day, you’ll find her knee-deep in her latest creative endeavor, with projects ranging from sewing and crafts to home decor and kid-friendly ideas. Amy believes that everyone, regardless of skill level or experience, possesses the ability to create something beautiful, and Positively Splendid was born of her passion for helping others harness their innate creative potential.

Last year we wrote silly messages on christmas tree ornaments with Glass outline paint – my daughters was “I love Bananas” she really hates them! It was really funny at the Christmas table :0)
Thanks for the inspiration I will have to try these out.
Love Clairebears x
Such a fun idea! I love that you can get two ornaments out of one globe. Genius!
Those are great! I love that she made two ornaments out of one Christmas ball!
What a great, inexpensive idea! Also one that the kids could help me with!
Those are so cute, and they look totally doable. Love! Great project, Traci. 🙂 I like this series a lot, Amy.
What a great idea Amy! Would also look awesome to use gift wrapping paper that is the same as presents that are wrapped and under the tree! Might just have to give this a try…thanks for sharing.
Simple and sweet ornaments, Traci.
Absolutely beautiful!
such a great idea!!!!
Awesome! These would make great gifts! You could even put the year in there.
I am determined to make some new ornaments for our Christmas tree this year and I know Ihave some of these empty plastic baubles somewhere – just got to find them !
Fantastic idea – thanks for the inspiration x
((hugs)) Suzie xoxo
Last Christmas my best friend gave me a really nice wooden Christmas ornament. It had my name and a picture of a reindeer engraved on it. It was super cool and I found out that a firm out in Colorado called Unique Custom Products made it. I am considering ordering from them this year…check them out if you like wooden itemswww.stampworldonline.com.
Perhaps a silly question, but how did you ensure the letters and bling were in a straight line?