Each Tuesday and Thursday throughout November and December, I’ve invited some of my favorite friends over to share some of their favorite holiday-inspired ideas in the 2013 Swell Noël series. For a complete guide of all of the projects shared throughout the series, be sure to follow the Swell Noël 2013 Pinterest board, and check out the hashtag #swellnoel on Facebook, Twitter, Google+ and Instagram. This morning’s Swell Noël project from Ashley of Cherished Bliss is sure to add some sparkle to your holiday season!
Hello there Positively Splendid readers! I’m Ashley from Cherished Bliss, and I am so excited to be here today as part of Amy’s Swell Noël series! Christmas is one of my favorite holidays to decorate for, and I’ve got a fun tutorial for a pallet wood silhouette Christmas tree to help get you ready for the season!
This year I am going with a rustic gold and white theme with some natural elements thrown in. I can’t wait to pull everything out, but my husband says it’s weird to put up Christmas decorations before Thanksgiving. Guess I’ll just have to wait until the Friday after! ; ). So for this particular project I took one of my Pallet Wood Chargers I made last year, and painted the back. You can do this on pretty much any surface you want, but if you want to know how to get this look, you can jump over and see the tutorial for those.
Supplies:
– Surface to paint on (tutorial for mine here)
– White acrylic paint
– Gold metallic paint
– Foam brush
– Christmas Tree Stencil
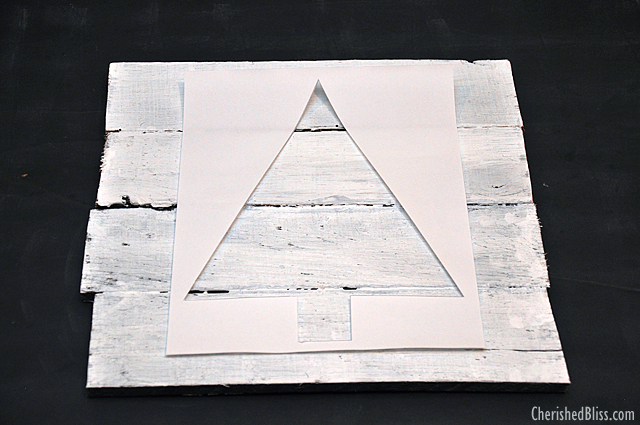
So once you have decided on the surface you want to use you just paint that white. Then I created a stencil by just printing off a Christmas tree shape and cutting it out with an x-acto knife. Below is the shape I used. You can create your own based on the size you need or go here and download the one I used.
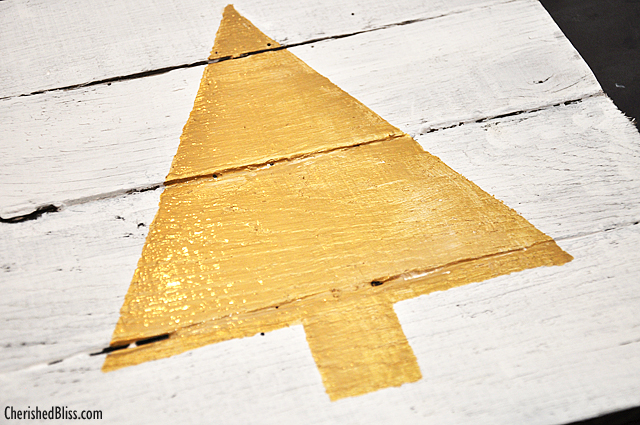
Once you place your stencil where you want it, you can tape it down, or if you are like me just be really careful and hold it in place. : ) Now you paint. I started around the edges and then moved the stencil before filling in the center to avoid the stencil smearing the paint. If you tape it down like someone who isn’t super impatient this wouldn’t be a problem, but I’m the impatient kind ; ). Once you have your tree painted, apply a second coat if desired.
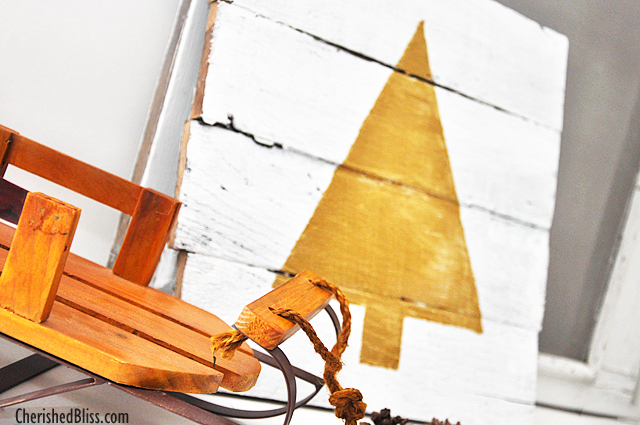
I just touched up the edges with my foam brush and let it dry. That’s it. You are done! Now you have a gold tree to start off this wonderful Holiday season!
I can’t wait to show you all my other Christmas decorations for this year. They will be all new since I’m going with a completely different style this year. Last year I did a whimsical theme because my kids wanted “fun Christmas decorations“. Don’t think this year won’t be fun though, we are totally making popcorn garland for the tree, YAY!
If you love food as much as decorating, you are in luck!! My lovely sister, Audra, just started blogging with me and she’s already preparing for Thanksgiving with her Pumpkin Pie Cupcakes and Homemade Cranberry Sauce with Orange.
They are both delicious, and I just know you will love them! Hope to see you soon!
Thanks so much for having me over Amy! : )
We love getting to know new people, so you can connect with us here!
Ashley: Facebook // Twitter // Pinterest // Google +
Audra: Facebook // Twitter // Pinterest // Google +
Having grown up in a home brimming with sewing notions and paintbrushes, Amy has a deep love for all things creative. On any given day, you’ll find her knee-deep in her latest creative endeavor, with projects ranging from sewing and crafts to home decor and kid-friendly ideas. Amy believes that everyone, regardless of skill level or experience, possesses the ability to create something beautiful, and Positively Splendid was born of her passion for helping others harness their innate creative potential.




Thanks again for having me over Amy! : ) Can’t wait to see what everyone else brings in the series!