Looking for a fun craft project for a special tween in your life? These dyed wood DIY headbands are a terrific wearable project to make together. Made with the beautiful new Ultra Dye colors from Plaid, these headbands are quick to make and super fun to wear. Read on for all of the details for how to make some dyed wood headbands of your own!
Thank you to Plaid for sponsoring this post to help me bring this fun craft idea to you today! All of my opinions about the Ultra Dye products used for this product are entirely my own.
To Make These Dyed Wood DIY Headbands, You Will Need…
- FolkArt Ultra Dye in assorted colors (there are 14 gorgeous, intense colors to choose from!)
- FolkArt Ultra Dye Brushes
- Protective gloves
- Foam bowls
- Laser cut wood shapes
- Spray acrylic sealer
- Plaid Ultra Dye Satin Varnish
- Headbands
- Felt sheets
- Scissors
- Hot glue gun
- Assorted embellishments (We had fun using Mod Podge Melts and Mod Podge Molds to create custom jewels for ours!)
To begin, put on the protective gloves and fill the foam bowls with the Ultra Dye color(s) of your choice.
Using the Ultra Dye Brushes, apply a the dye to the wood shapes as desired.
The Ultra Dye is incredibly fun and easy to work with, since it brushes on just like a paint, and it allows you to create beautiful blended/ombre effects when mixing and matching favorite hues. I love how the Ultra Dye allows the natural wood grain to show through!
Once you’ve applied the Ultra Dye to all of the shapes, set the wood pieces aside to dry completely. Then, since these items will be wearable, spray each shape with 1-2 coats of the acrylic sealer and allow to dry completely.
For even more protection, you can also coat each one with a layer of the Ultra Dye Satin Varnish, which applies easily with the Ultra Dye Brushes and dries to a nice satin finish.
Once the shapes are dry, it’s time to construct the headbands. The shapes are gorgeous as-is, but to really punch things up with lots of personality, the shapes can be embellished with any number of beads, buttons, rhinestones, sequins, etc.
We opted to use a Mod Melter, available at Michaels, along with the Mod Podge Mod Melts and Mod Podge Mod Molds to create our own brightly colored gems. To do so, insert one of the Mod Melt sticks into the Mod Melter, and then gently fill the Mod Mold by squeezer the trigger, filling from the center of the molds outward. Allow the shapes to cool for 10 minutes before removing them from the molds. So easy!
Arrange the shapes/embellishments as desired. Wood shapes can be stacked for a fun layered effect. Adhere all of the shapes together with the hot glue.
To construct the headband, cut a piece of felt that is just smaller than the embellished shape, and affix it to the back of the piece with hot glue. Cut another small circle piece as well.
Apply a generous dab of hot glue to the headband at the point where you want the shape to be affixed, and press it on top of the felt-covered back of the piece. Generously cover the back of the circle piece with hot glue, and then affix that piece over the headband as shown to anchor it into place.
Your pretty dyed wood headband is complete! Repeat this process to make as many DIY headbands as desired. Once you get started, you’ll want to make one to match every outfit!
The vivid Ultra Dye hues make these headbands a real fashion statement!
On the lookout for even more fun kids’ craft inspiration? Check out these other fun ideas!
Perler Bead Backpack Tags

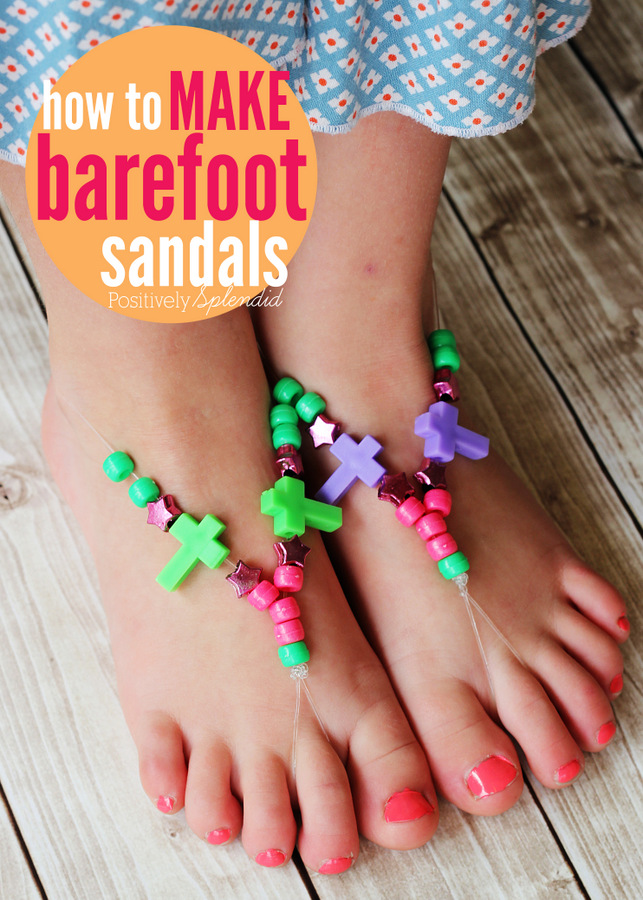
Barefoot Sandals

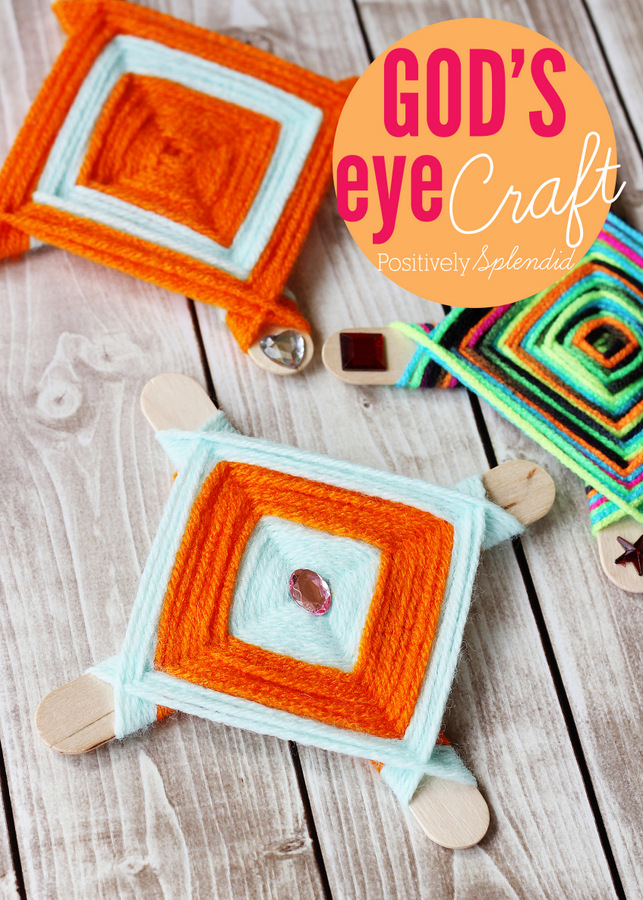
Gods’ Eyes

Thanks so much for stopping in!
Having grown up in a home brimming with sewing notions and paintbrushes, Amy has a deep love for all things creative. On any given day, you’ll find her knee-deep in her latest creative endeavor, with projects ranging from sewing and crafts to home decor and kid-friendly ideas. Amy believes that everyone, regardless of skill level or experience, possesses the ability to create something beautiful, and Positively Splendid was born of her passion for helping others harness their innate creative potential.


