There are few of my blogging friends who speak with a more genuine voice than today’s Swell Noel guest, Char from Crap I’ve Made. Her blog is brimming with fun, inventive ideas, and the way she writes make you look forward to each and every post! Take it away, Char!
***
You’ve seen the fabulous pillows made from feed sacks all over the internet, right? Pottery barn had some made from coffee bags, even. I love them, but I don’t happen to have an abundance of feed sacks sitting around. OK, I don’t have any feed sacks sitting around and I don’t know where to get them either. So, I came up with this project to satisfy my love of the feed sack. Desperation is the mother of invention, right? And, this tutorial *might* even be better than the real deal because you can totally personalize a faux sack. What are the odds that you’d find an actual feed bag with your last name (or Santa or whatever) on it? (Hint: none.)
(I went the Santa route, since I’m here for A Swell Noel and all, but this technique would work for any image/lettering.)
SUPPLIES:
Canvas drop cloth, from the paint section. You can get a 6’ X 9’ one for around $10. That’d make A LOT of pillows.
Contact paper, vinyl, or freezer paper. I used contact paper because it’s cheap and can easily be fed through my Silhouette.
Silkscreen ink. I like Simply Screen by Plaid.
Sandpaper
Contact paper, vinyl, or freezer paper. I used contact paper because it’s cheap and can easily be fed through my Silhouette.
Silkscreen ink. I like Simply Screen by Plaid.
Sandpaper
HOW TO:
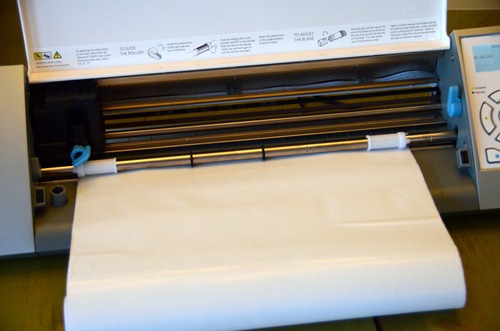
Cut your design or lettering out of your contact paper (or vinyl or freezer paper). I used a Santa silhouette from the Silhouette download store and then cut it with my Silhouette (on vinyl settings but slowed down to a speed of 5 and a depth of 7). You could easily do this with a craft knife as well.
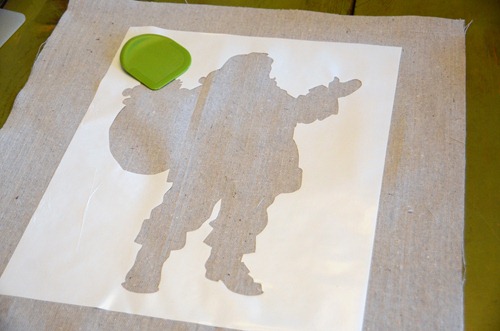
Apply the contact paper to your drop cloth. I cut an 18” X 18” square because my pillow form was 18”.
I used that green scraper thing to get a good tight seal around the edges.
I like to stick the vinyl backing under my fabric to keep the ink from bleeding through and getting on my table.
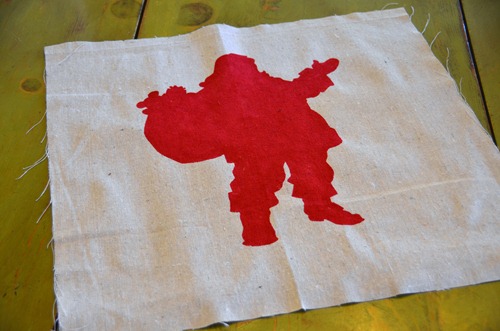
Apply silkscreen ink with a sponge brush.
I like to use a scrap of contact paper to squirt the ink out onto.
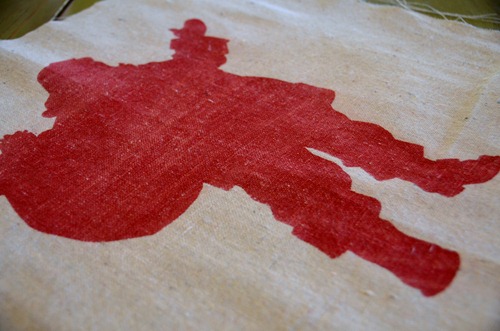
Once the ink is dry, you can peel off the contact paper.
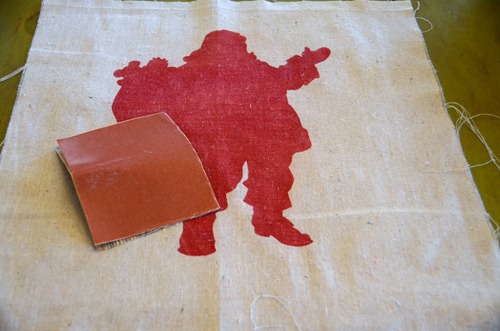
Then, take some sandpaper to your design.
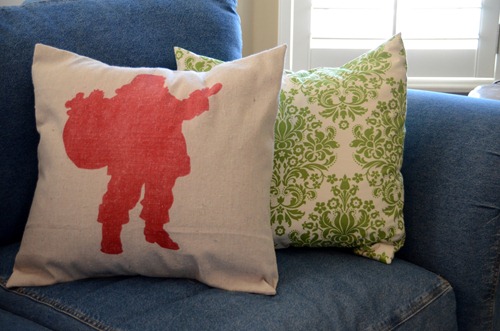
Keep sanding until it looks old and worn and like it’s been part of the canvas forever.
Assemble your pillow (I made a simple envelope back).
(Note: For a tutorial for how Amy creates an envelope back closure for throw pillows, you can check out this post.)
And you’re done.

Having grown up in a home brimming with sewing notions and paintbrushes, Amy has a deep love for all things creative. On any given day, you’ll find her knee-deep in her latest creative endeavor, with projects ranging from sewing and crafts to home decor and kid-friendly ideas. Amy believes that everyone, regardless of skill level or experience, possesses the ability to create something beautiful, and Positively Splendid was born of her passion for helping others harness their innate creative potential.




Thanks Char! This is similar to how I made my faux French feedsack aprons. Thanks for a Swell Noel!
Your Swell Noel Event is to fun. Love it. This pillow is darling. Keep the fun coming.
winks, jen
Love that pillow!! It has a nice, vintage-y flair to it. 🙂 Great project!