Today’s Swell Noël Post features a gift anyone would love: their own kit for baking and decorating a batch of cupcakes! Catch up on all of the projects from the series by visiting the photo guide of all of the ideas shared by the talented Swell Noël contributors, and follow along as things happen on Twitter, Facebook, Google+, Pinterest and Instagram by using the hashtag #SwellNoel.
Hello everyone! I’m Sumo, or Summer if you wanna get formal.
I blog over at Sumo’s Sweet Stuff.
It’s my little place in the blogging world where you can come to find sewing and crafting inspiration. Sewing is my favorite creative outlet, but I’m not afraid to bust out the Mod Podge and paint when the mood strikes. You might also catch me professing my love of Target (or the popcorn store as we call it), talking about my relationships with Lucy (Cameo) and Veronica (sewing machine), or bragging about my three beautiful girls. I have an extreme fondness for Diet Coke, my minivan, historical fiction, and most sweets.
I feel so honored that Amy invited me to be a part of her series. Pretty much anything she does is amazing, and I’m not sure I’m quite worthy to be over here today, but how could I refuse? I got to meet Amy this past spring at SNAP, and I have to say that she is every bit as lovely in person as she is on her blog.
Today I’m going to be sharing a super simple, super quick, and super cheap neighbor gift idea.
Cupcakes are pretty trendy right now, so who wouldn’t like to receive their own cupcake making kit?
Here’s what you’ll need:
– gift box (I found this beauty at my favorite store – Target)
– cake mix
– can of frosting
– bottle of sprinkles
– cupcake wrappers
– embellishments and tag for gift box
– tissue paper
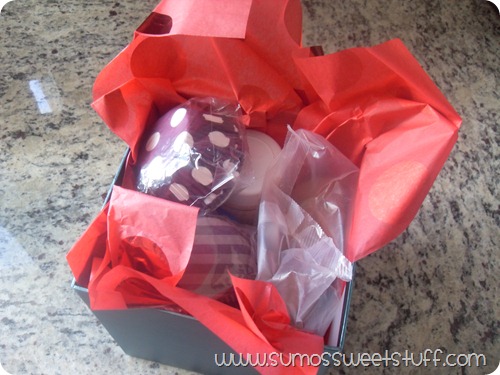
I started off by lining my gift box with tissue paper. I had to remove the cake mix from the box for it to fit, but you could easily write the instructions to bake on your gift tag. Arrange everything inside of your box.
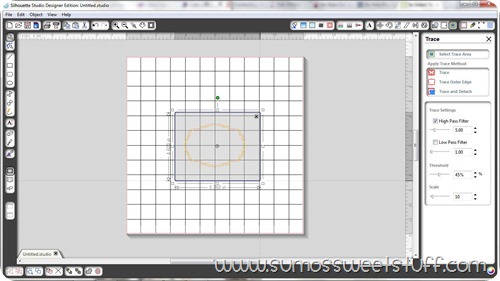
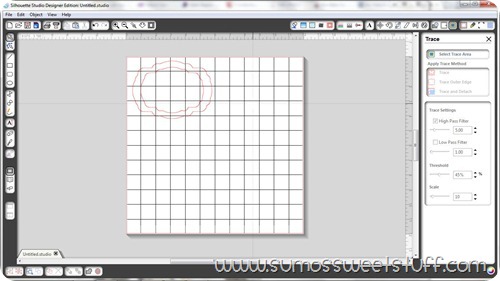
You can put the lid on the box and set it aside while you make your gift tag. I used my CAMEO and some cardstock to create mine. I started off by finding the tag shape I wanted in my library. The shape had a double line around it, so I wanted to separate those two lines using the trace feature. I selected the trace area,
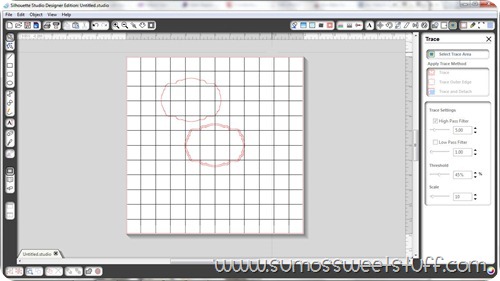
and next selected trace outer edge. Then you can separate the original shape from your outer edge traced shape.
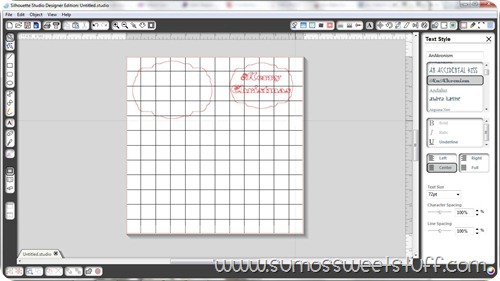
Then I copied the shape, and sized them so that one was bigger and one was smaller.
The last thing I did was move the smaller shape out so that I could type my ‘Merry Christmas’ to fit the shape.
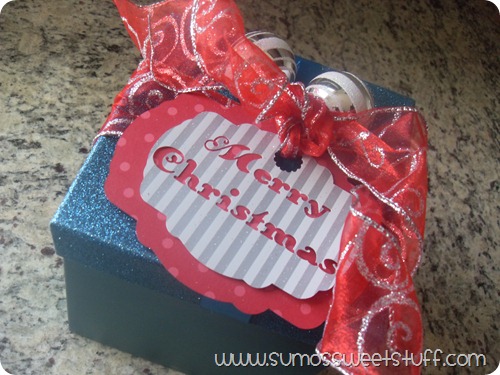
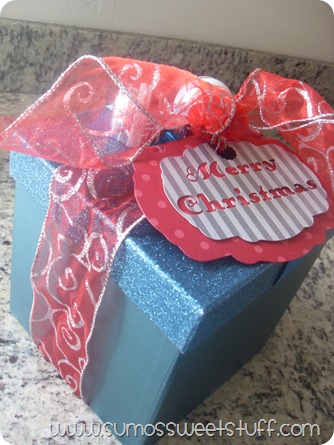
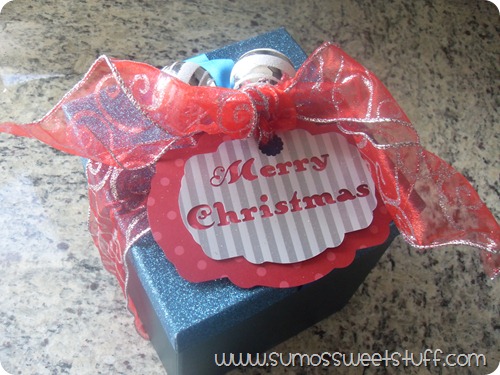
Now when they are cut out and placed on top of each other, the words will show through with your bottom color of cardstock. Tie your tag around your box with some ornamental decorations, and you are set!
Seriously, who wouldn’t want to get that, right?
Thank you so much for letting me share this fun and easy gift idea with you today. I hope you’ll come visit me at Sumo’s Sweet Stuff!
Having grown up in a home brimming with sewing notions and paintbrushes, Amy has a deep love for all things creative. On any given day, you’ll find her knee-deep in her latest creative endeavor, with projects ranging from sewing and crafts to home decor and kid-friendly ideas. Amy believes that everyone, regardless of skill level or experience, possesses the ability to create something beautiful, and Positively Splendid was born of her passion for helping others harness their innate creative potential.



What a great gift idea for my teenage son and his girlfriend who have taken over my kitchen this christmas
Will be making 3 boxes for all the family
Merry Christmas to you x x