2. Paint the walls. Using a brush or roller, cover your area with the paint of your choice. I used two coats of Martha Stewart’s Lagoon in Eggshell.
It is best to let your paint dry for a few days before you apply your vinyl wall treatment. Inevitably, you will have to remove or re-position some of the vinyl and you don’t want the paint to peel off with it!
While your walls are drying, prepare all your vinyl!
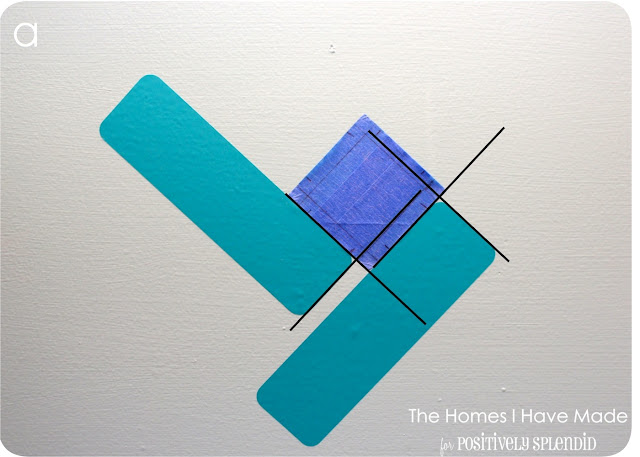
Next, make a template (from painter’s tape) to help you apply your rectangles to your wall. (Just go with me here, this will make sense when it comes time to put the rectangles on the wall!)
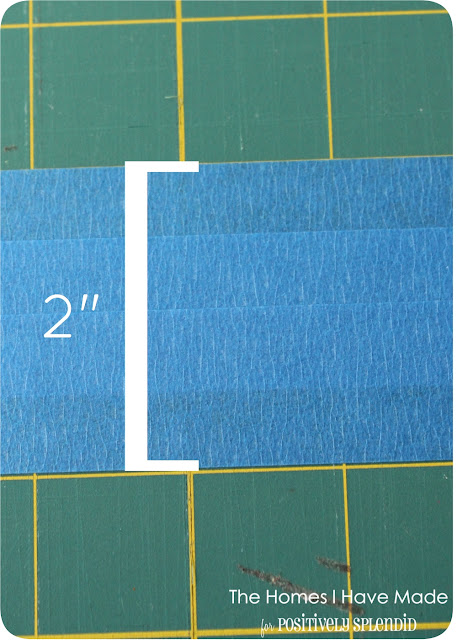
3. Lay out 2″ wide strip of painter’s tape. On a wide ruler or cutting mat, tape out a strip of painter’s tape to achieve a 2″ wide strip.
The tape I had on hand was skinny, so I overlapped three strips to make it 2″ wide.
4. Cut tape into 2″ square. Then, using your rotary cutter and a ruler, cut the 2″ strip into a 2″ square.
Here’s my “perfect” 2″ square of painter’s tape.
5. Measure out 1/4″ margins. Using a ruler and a pencil, draw a line 1/4″ in from the edge of the tape on all four sides.
Here’s my square with the 1/4″ lines on all four sides.
- a. Place the second rectangle same as the first: align the SHORT edge with the next 1/4″ line; align the LONG edge with the tape square.
- b. Repeat with the third rectangle.
- c. Repeat with the fourth rectangle and remove the tape square.
- d. Line up the square with two “available” rectangles, using the edges of the tape and the 1/4″ lines as your guide.
- e. Continue to place rectangles and move the tape square to build your tile pattern.
Once you get your initial pattern established, I found it easiest to start at the top and move down the wall in columns. Use the level to ensure your square stays level and in-line with the previously applied rectangles. Be diligent about lining up both the square and the rectangles EACH TIME! If you find that your pattern is drifting or not lining up…STOP…go back and figure out which one(s) are not lined up just right. The pattern will only unravel more the further you go! (That’s why you use re-positionable vinyl!)
- f. Continue moving outward from your center point; when you reach the edges of your tiling surface, go ahead and just leave the ends. You’ll clean up all those edges at the end!
- g. When you come across an outlet, apply your rectangles using your square tape template as best you can. Carefully trim away all the excess vinyl with a scissors before replacing the plate.
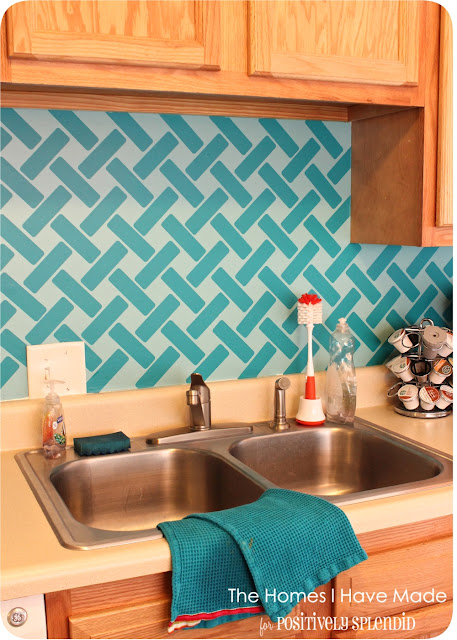
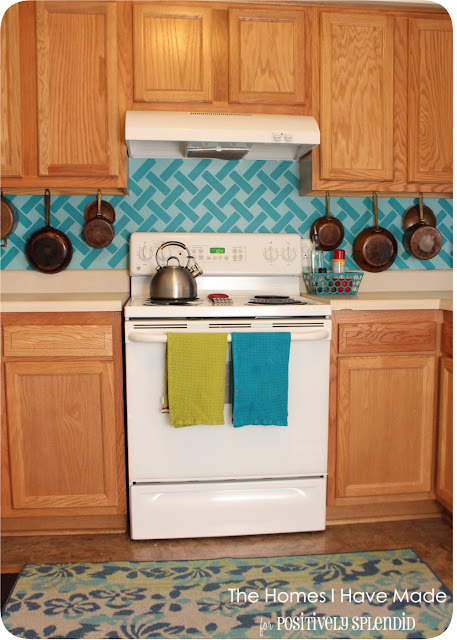
3. Tile entire kitchen (surface). Very diligently and carefully, continue placing and re-placing your square and vinyl rectangles until your entire tiling surface is covered!
Thanks again to Amy for having me back! Hope everyone has a great end to their summer and smooth start to a new school year! See you next month!
Megan is an exercise and nutrition professional turned stay-at-home mom and DIY blogger with the arrival of her baby boy in April of 2011. Married to a U.S. Marine, she is currently setting up her 5th home in 8 years! You can follow Megan’s decorating and crafting adventures over at The Homes I Have Made (and here on Pinterest and Facebook) and find lots of ideas, tips, and tricks for making any temporary space a cute, cozy and comfortable home!
Having grown up in a home brimming with sewing notions and paintbrushes, Amy has a deep love for all things creative. On any given day, you’ll find her knee-deep in her latest creative endeavor, with projects ranging from sewing and crafts to home decor and kid-friendly ideas. Amy believes that everyone, regardless of skill level or experience, possesses the ability to create something beautiful, and Positively Splendid was born of her passion for helping others harness their innate creative potential.


.jpg)
holy crap thats dedication! I am in the middle of re-doing my new kitchen, and the walls are the last thing i need to decide on. I have a piece of glass to go behind my hob but not a clue for the sink area and mini wall. This has inspired me to go vinyl!!
Oh wow I love this idea, my wheels are turning I tell ya! Thanks soooo much for sharing!
Amber
WOW!You are the wowman!. You are getting a sticker for sure!
Wow! That is crazy good! Thank you for sharing. Visiting from 36th Ave. Would love it if you would share this at my Make it Pretty Monday party at The Dedicated House. http://thededicatedhouse.blogspot.com/2012/08/make-it-pretty-monday-week-11.html Hope to see you at the bash! Toodles, Kathryn @TheDedicatedHouse
This turned out great!! I don’t know if I would have had the patience for that, but it’s safe to say your patience truly paid off! Great job!
Megan, You did it again! What a great idea to create the tape template and work from there. How are you able to do this with a toddler? My daughter barely took naps so there was no way I could do anything like this. I’m so impressed! Katharine
What a creative idea that could be adapted to many different sizes and patterns.
Thanks for sharing.
Traci