Looking for a way to spruce up your indoor and outdoor spaces for fall? This faux concrete pumpkin planter is a cinch to make, and it is a perfect handmade table centerpiece or front porch accent. Packaged with a pretty tag and filled with a flowering fall mum, this would also be a lovely gift to share with a friend! Read on for all of the details for how this fun fall craft project comes together with some clever products from FolkArt.
I‘ve teamed up today with Plaid and the Plaid Creators team to bring this project to you. All opinions of the products featured here are entirely my own, and my readers can always rest assured that I am committed to only sharing products that I truly love and enthusiastically use myself! This most contains affiliate links, which allows me to continue to offer fun ideas to my readers at absolutely no cost.
To make a faux concrete pumpkin planter, you will need…
- Artificial craft pumpkins suitable for carving
- FolkArt Painted Finishes Dark and Light Concrete
- FolkArt Painted Finishes Shortie Brushes
- FolkArt Metallic Paint (Used Here: Solid Bronze, Pure Gold and Sahara Gold)
- Folk Art 1/2″ Angle Brush
- FolkArt Forest Stencil Value Pack
- Plaid 5/8″ Stencil Brush
- Stencil Tape
- Serrated knife
- Potted mum or other fall plant
- Drill and 1/4″ bit (optional)
Shake the bottles of the Painted Finishes Light and Dark Concrete very well. Use the Shortie brush to apply the Light Concrete to the entire surface of the pumpkin, as shown.
While the Light Concrete is still wet, use a Shortie brush to randomly dab on sections of the Dark Concrete, blending the colors together for a realistic concrete effect. Set aside to dry completely, at least 4 hours.
When the concrete finish is completely dry, use the 1/2″ angle brush to apply a section of the FolkArt Solid Bronze Metallic paint to the lower quarter of the base of the pumpkin, applying the paint to give the pumpkin a “dipped” effect. Allow the metallic paint to dry completely.
When the dipped base is completely dry, grab the FolkArt Forest Stencils and the 5/8″ stencil brush, along with the stencil tape and both shades of the FolkArt Metallic paint.
Use the stencil tape to affix the leaf design stencil from the set to the front of the pumpkin, and then carefully stencil leaf designs on the center front of the pumpkin, overlapping the edges of the leaves and using several different metallic colors for a pretty layered effect.
Tip: For a clean, crisp edge on the design, dab the stencil brush into the paint and then blot away any excess on a folded up paper towel before applying the paint in a dabbing, up and down motion within the stencil design. Remove the stencil and allow the paint to dry for 10 minutes or so, or until dry to the touch, before applying the subsequent designs. When all of the stenciled design elements are complete, set the project aside to allow the paint to dry completely, about 1 hour.
When the paint is dry, use the serrated knife to carve away the top stem portion of the pumpkin to a circumference just large enough to accommodate the potted plant. Drill 3 drainage holes into the bottom of the pumpkin, if desired. (If no holes are drilled, you will need to remove the plant for watering so the planter doesn’t become waterlogged.)
Your faux concrete pumpkin planter is complete!
My planter is currently residing on my front porch, but I think I might need to create another to use indoors, too! In addition to mums, crotons would look lovely in one of these planters, or you could even place a glass vase inside the planter to fill with fresh-cut fall blooms like sunflowers. There are so many possibilities!
I love the layered effect of the stenciling on this project, and the way the FolkArt Metallic paints shimmer and shine when the light hits the design. The leaves from this stencil set are so perfect for a fall project like this one, but there are hundreds of other FolkArt stencils to choose from if you want to try for a different look. I think a pretty monogram would be perfect for a fall wedding centerpiece, or a stenciled house number would be perfect for a planter displayed outdoors. No matter what suits your fancy, there is sure to be a FolkArt stencil that is right up your alley!
Thanks so much for stopping in today! For even more inspiring fall crafting ideas and tips, be sure to check out Plaid on Facebook, Pinterest, Instagram, and through their newsletter!
And for even more great fall inspiration, check out all of my fall ideas here, or scroll down to see some of my favorites!
Gilded Pumpkins
Elegant Fall Wreath

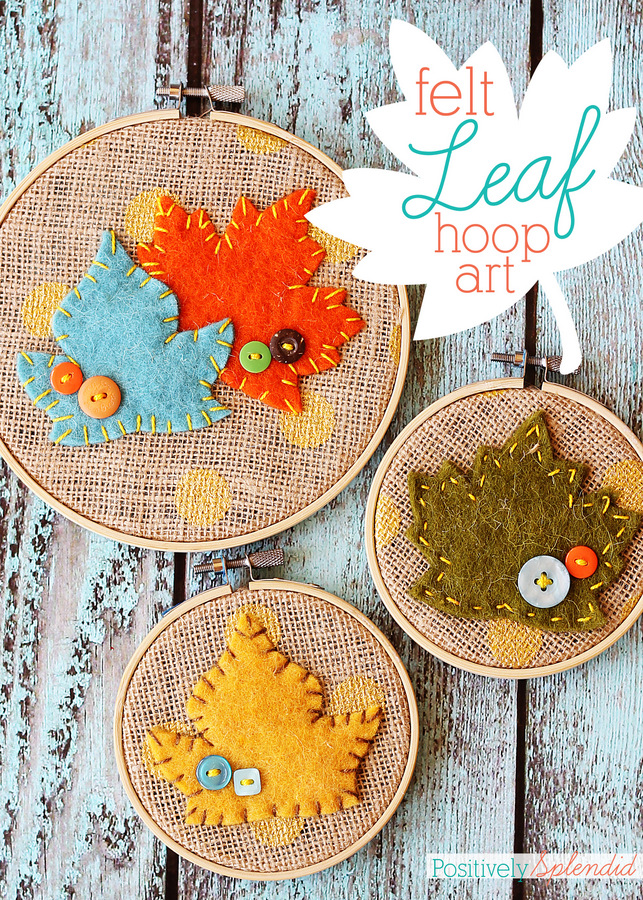
Leaf Hoop Art

Gold Foil Pumpkins

Having grown up in a home brimming with sewing notions and paintbrushes, Amy has a deep love for all things creative. On any given day, you’ll find her knee-deep in her latest creative endeavor, with projects ranging from sewing and crafts to home decor and kid-friendly ideas. Amy believes that everyone, regardless of skill level or experience, possesses the ability to create something beautiful, and Positively Splendid was born of her passion for helping others harness their innate creative potential.


