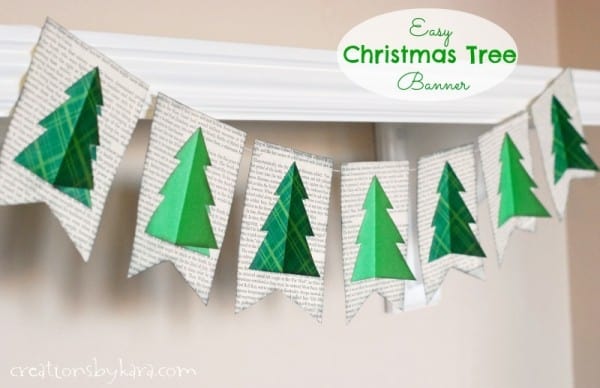
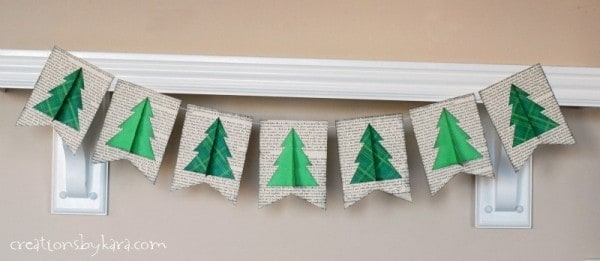
Each Tuesday and Thursday throughout November and December, I’ve invited some of my favorite friends over to share some of their favorite holiday-inspired ideas in the 2013 Swell Noël series. If you’re on the lookout for a darling way to spruce up your decor this year, you are going to love this Christmas tree banner idea!
Hello Splendid readers! I’m Kara from Creations by Kara, and I’m thrilled to be a part of Amy’s Swell Noel series. I met Amy last year, and she is every bit as cute, friendly, and downright awesome as she appears to be. Love her!
My project today is an Easy Christmas Tree Banner. I made a similar book page banner for Easter a couple years ago, and I’ve loved it so much that I decided to adapt it for Christmas. Don’t worry all you book lovers out there, I rescue books from the library that are headed for the recycle bin. They’re happy to be used, I promise. 🙂
I made my banner to hang on a shelf, but you can hang it on a mantel, over a door, on a window, or anywhere you like. You can adjust the size of the pattern, or just adjust the length by making more pages. Here’s how you can make your own Book Page Christmas Tree Banner.
Supplies:
Free downloadable pattern
Book pages
Green paper (cardstock or patterned paper)
Scissors
Glue
Hot glue and glue gun
String, twine, or ribbon
Ink pad (optional)
Instructions:
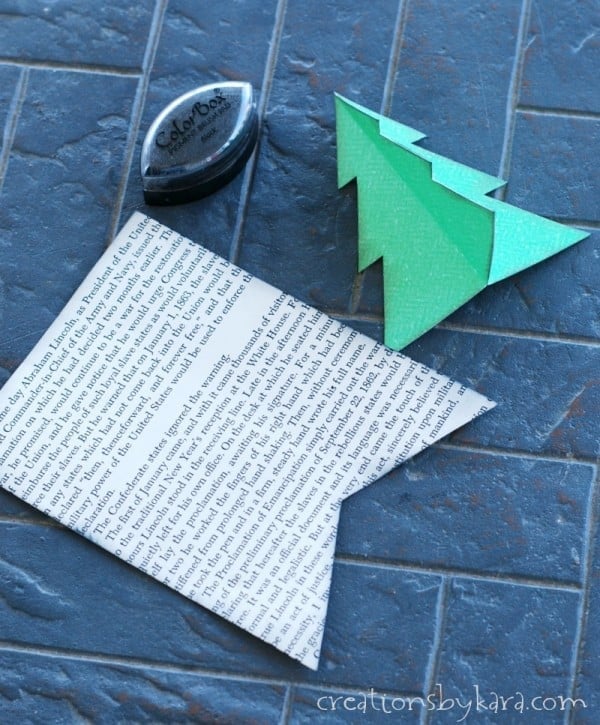
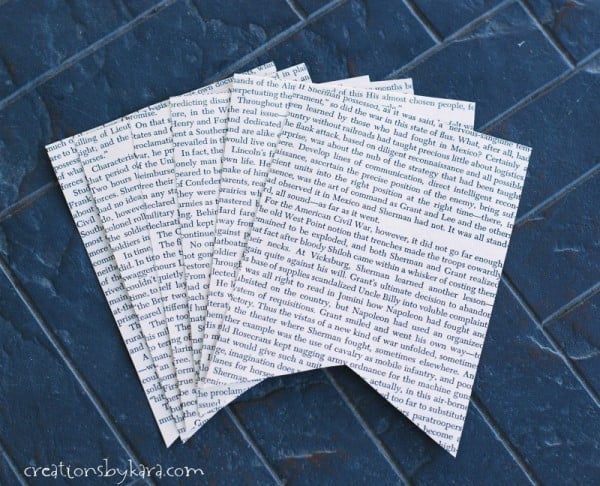
Print the pattern and use the bunting pattern piece to cut out all of your book pages.
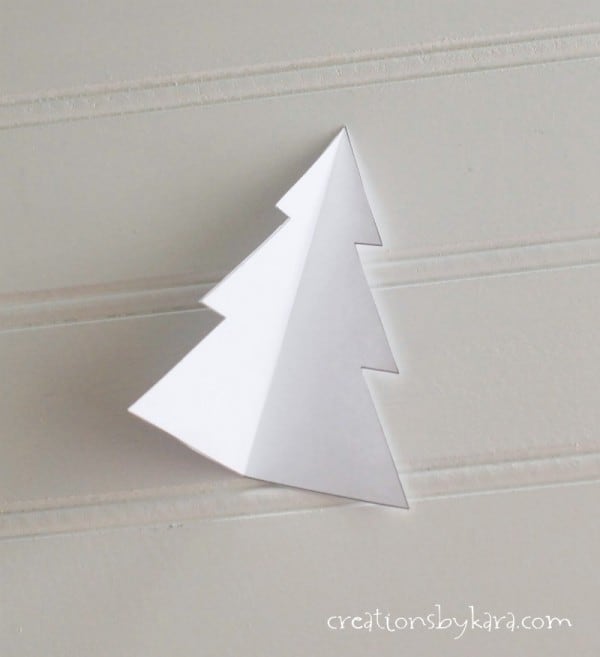
Next cut out your tree pattern and carefully fold it in half.
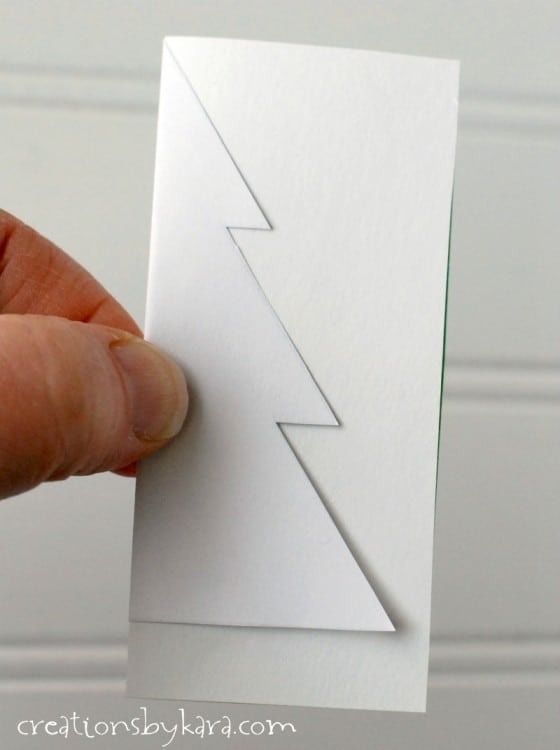
To cut out your trees, cut a piece of your patterned paper slightly larger than the tree pattern. Fold it in half and slide the folded pattern over the folded edge. Hold it firmly together and cut it out. (You will need two pieces for each tree.)
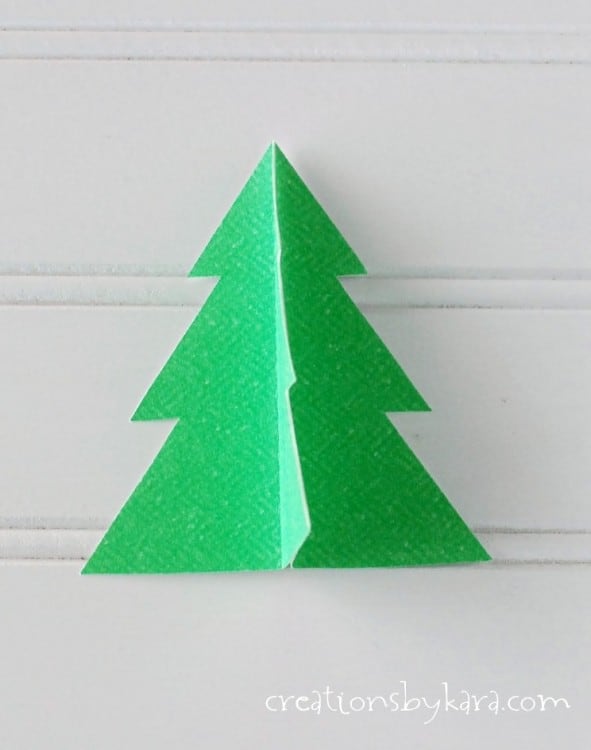
After you have two trees cut out, it’s time to glue them together. You need to make sure and get glue all the way to the edges, so I recommend using a tiny paint brush. You can use your finger, but who wants all that mess?
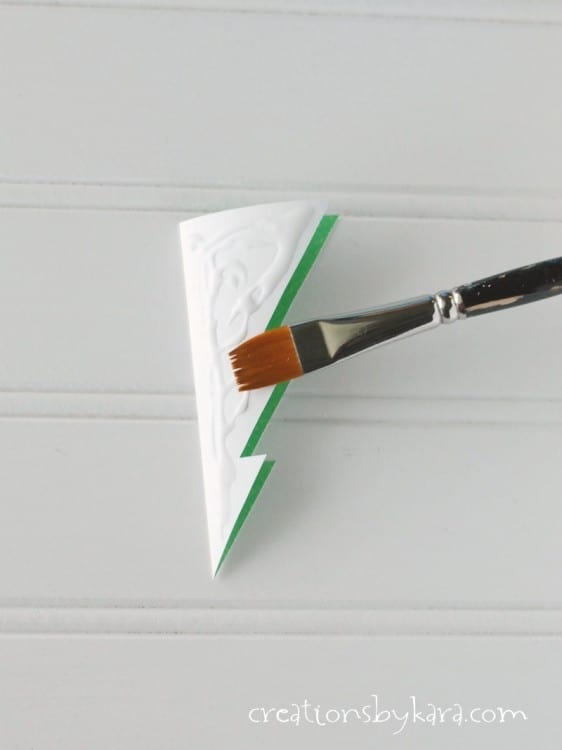
After applying the glue, press two tree sides together. Press firmly on the edges to make sure they adhere well.
Tip: If your paper curls up a bit as it is drying, just iron it flat after the glue is completely dry. 🙂
To add some dimension, ink the edges of your book pages and trees with an ink pad. I used a tiny black pad, the small size makes it easier to get in the corners. But you can use whatever you have. Or you can totally omit this step if you prefer.
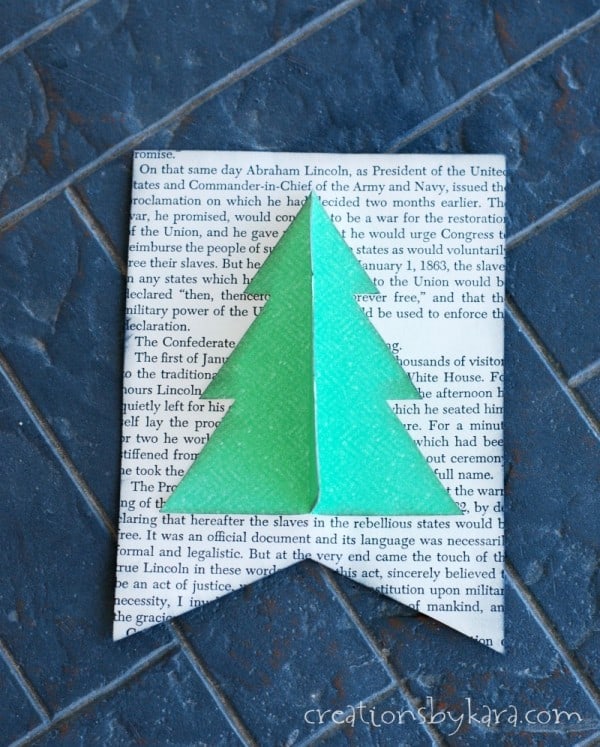
Now glue each of your trees to a book page. Try to line them up as evenly as possible.
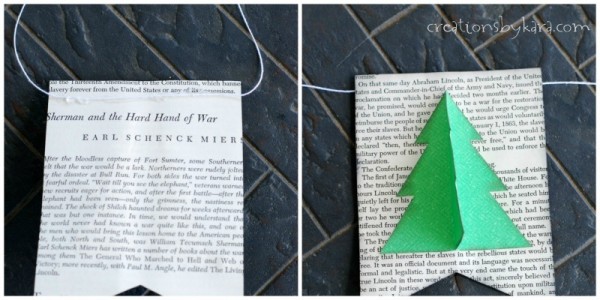
After all your banner pieces are assembled, cut a piece of string/yarn/jute/ribbon. . . whatever you are using to hang your banner. (Cut it way longer than you think you need, you can always shorten it later.) Find the center of your string an attach it to the back of your middle banner piece with glue. I use hot glue because it dries fast and I’m impatient.
After you have your middle bunting piece in place, start adding your other pieces to each side, leaving a small space between each one. That’s it! It’s light enough that you can just hang it with a couple of pieces of tape. Easy peasy!
Thanks so much for having me Amy! I can’t wait to see all the other amazing Christmas ideas coming this month.
I hope you’ll all stop by and say hi, I’d love to have you. 🙂
***
Kara’s creations are always amazing!
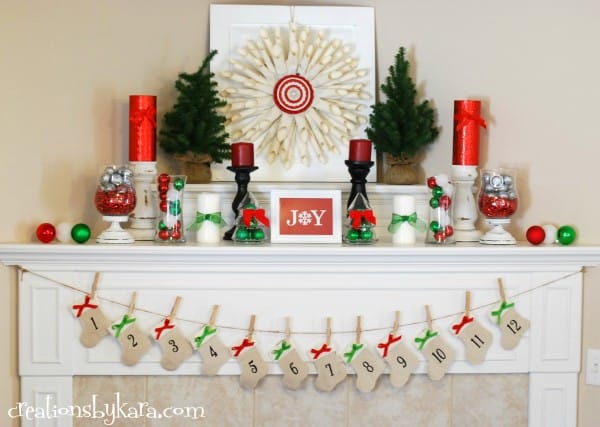
Red and Green Christmas Mantel
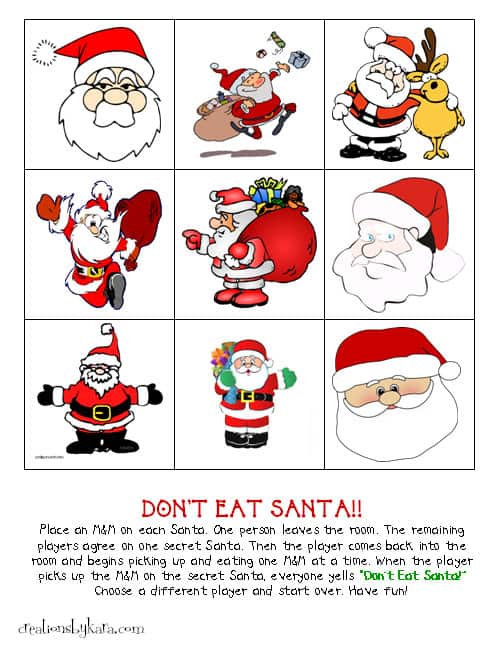
“Don’t Eat Santa!” Christmas Game and Printable (This looks like so much fun!!)
Vanilla Bean Cinnamon Roll Cake

Kara can be found at all of these places. I hope you’ll stop by to follow along!
Blog / Facebook / Google+ / Instagram / Twitter / Pinterest
Having grown up in a home brimming with sewing notions and paintbrushes, Amy has a deep love for all things creative. On any given day, you’ll find her knee-deep in her latest creative endeavor, with projects ranging from sewing and crafts to home decor and kid-friendly ideas. Amy believes that everyone, regardless of skill level or experience, possesses the ability to create something beautiful, and Positively Splendid was born of her passion for helping others harness their innate creative potential.
