
Directions:
- Cut bead board to size, mine is 20″ long x 11 1/2″ tall.
- Measure + cut trim to size, I used a Ryobi miter saw, 4 quick cuts!
- Paint trim brown, I used DecoArt’s “Raw Umber”. Don’t forget the edges of your bead board too!
- Screw bead board to trim from the back of the bead board using 1/2″ screws.
- Apply stencil (I used BellMT font/bold) and paint inside red.
- After the letters are dry, sand down the inside wood for a distressed look. Bonus: hides imperfections (;
- Use bakers twine to hang the wreath discreetly behind the frame, tack into place.
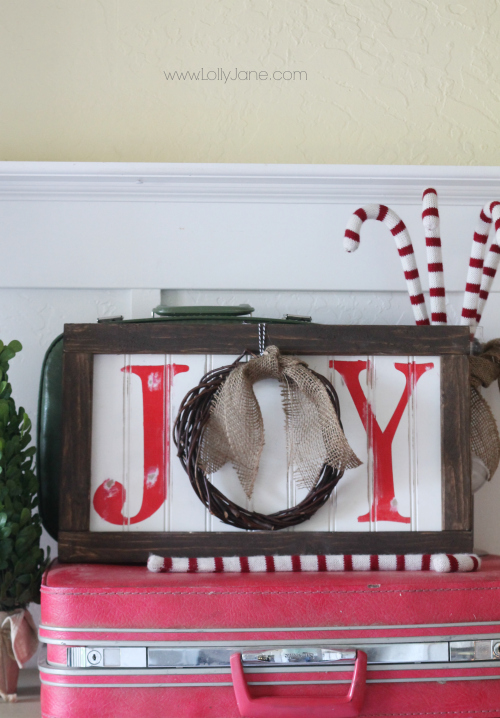
Hang and display and you’re done! This project was free for me since I had everything in my stash in my craft room!
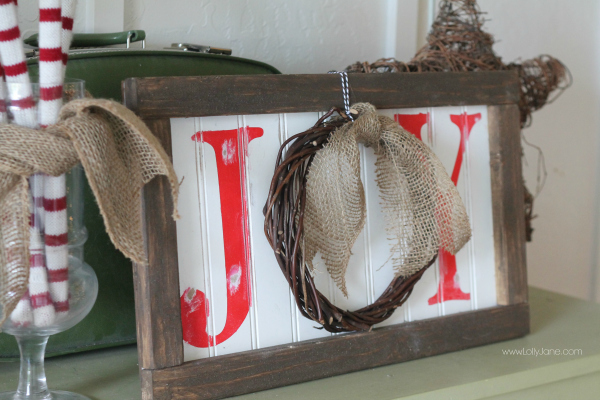
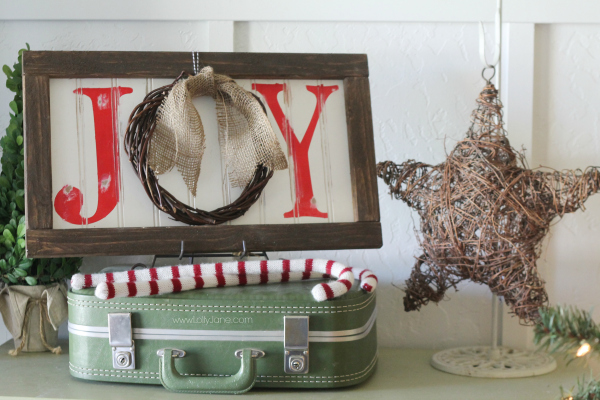
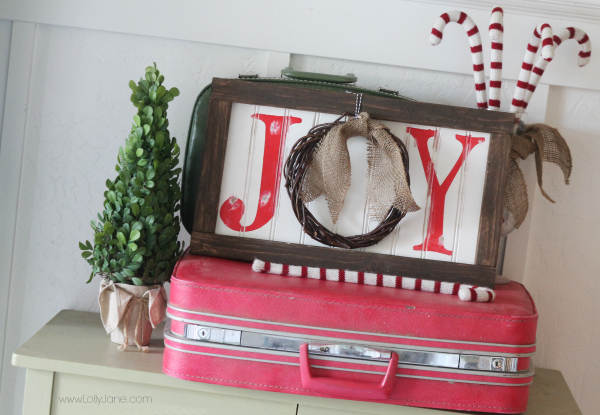
For more easy Christmas and decor ideas, be sure to catch up with us on FB, Pinterest, Twitter or Insta. Thanks so much, Amy for letting us to be guesties today! Happy holidays, everyone!
xoxo,
Kristi and Kelli always have something fantastic up their sleeves over at Lolly Jane!
Connect with Kristi and Kelli:
Lolly Jane / Facebook / Pinterest / Instagram / Twitter / Google+
Having grown up in a home brimming with sewing notions and paintbrushes, Amy has a deep love for all things creative. On any given day, you’ll find her knee-deep in her latest creative endeavor, with projects ranging from sewing and crafts to home decor and kid-friendly ideas. Amy believes that everyone, regardless of skill level or experience, possesses the ability to create something beautiful, and Positively Splendid was born of her passion for helping others harness their innate creative potential.



Those two girls always come up with the cutest ideas. Love the JOY sign!
I agree, Leigh Anne! Those girls are so creative! Thanks for stopping by. 🙂