Today’s Swell Noel Post features a terrific technique for making reusable chalkboard and fabric gift tags from the immensely talented Shannon of Madigan Made. Catch up on all of the projects from the series by visiting the photo guide of all of the ideas shared by the talented Swell Noël contributors, and follow along as things happen on Twitter, Facebook, Google+, Pinterest and Instagram by using the hashtag #SwellNoel.
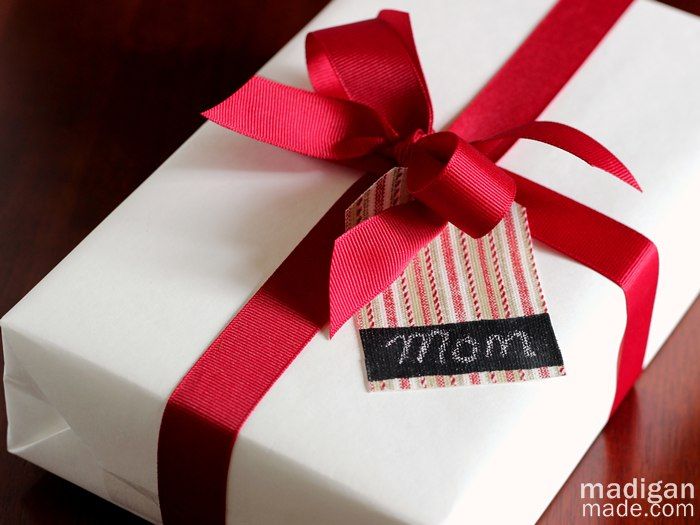
Hi PS readers! I’m so excited to be participating this month in Amy’s Swell Noel series!
My name is Shannon and I blog over at Madigan Made… a place where I share simple, creative ideas. Some people have called me the Clark Kent of craft blogging. By day, I work as a pharmacist and by night I share simple ideas for crafts, décor and much more with my readers. I also crave chocolate, love a thrifty find and try (often unsuccessfully) to avoid glue gun burns.
Today I wanted to share with you a simple way to make reusable gift tags for your holiday wrapping. Not only is it a personal and elegant way to present your gift, but it can be used again by your recipient!
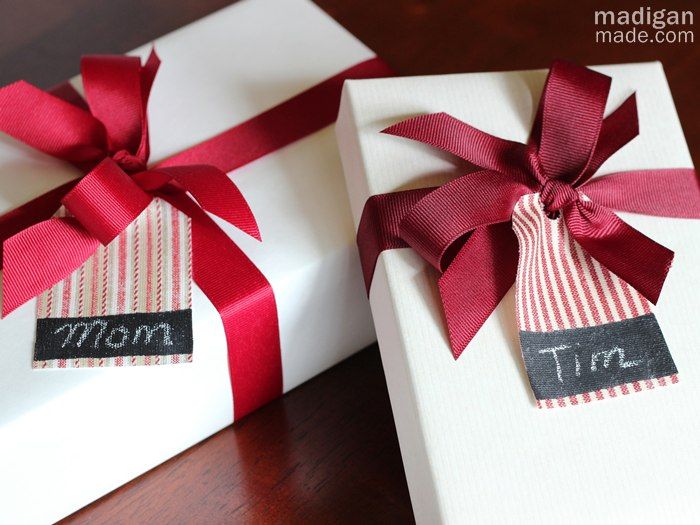
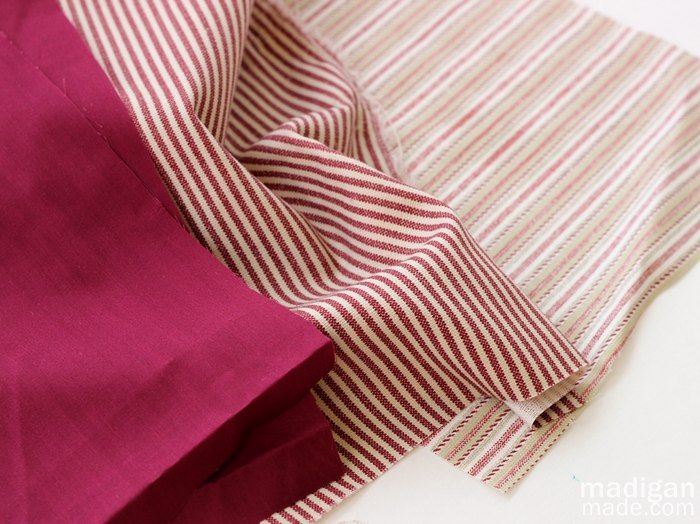
I recently learned that decoupage can stiffen fabric. It makes the material easy to cut, without any fraying. I had a bunch of red striped fabric from leftover projects and I knew that the colors would make great handmade holiday gift tags!
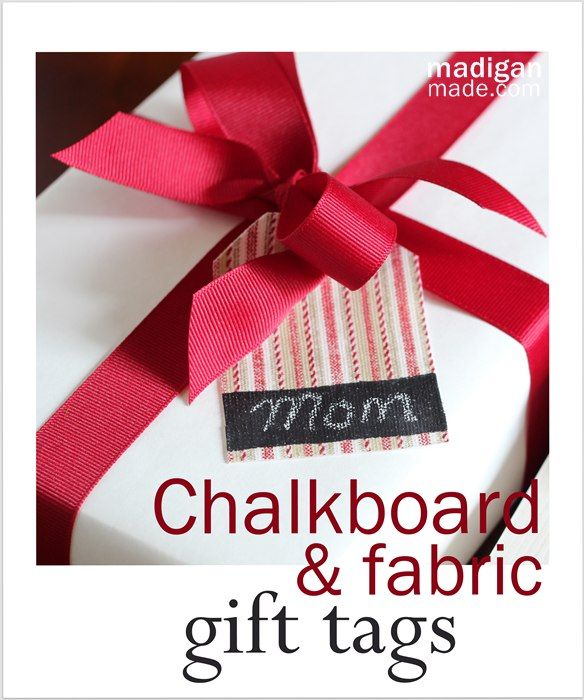
How to Make a Reusable Chalkboard Fabric Tag:
Supplies needed:
- Fabric pieces
- Decoupage
- Brushes
- Scissors/cutting board
- Hole punch
- Chalkboard paint
- Chalk
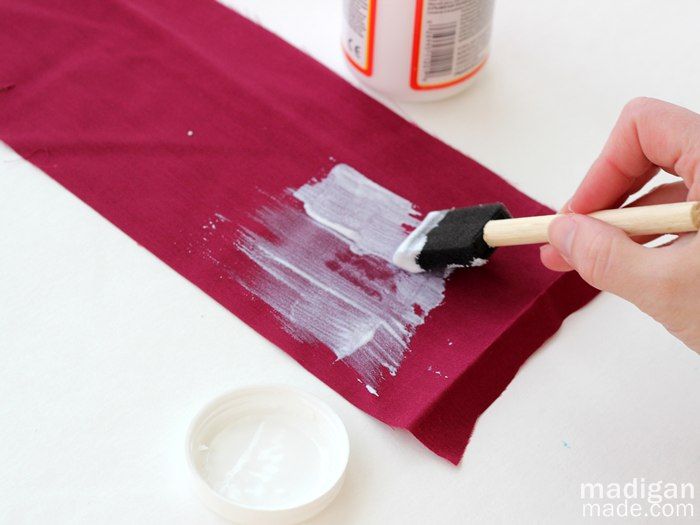
Step One:
Brush a thick coat of decoupage over each of your fabric scraps.
Step Two:
Hang the pieces of fabric to dry overnight. The decoupage will stiffen the fabric.
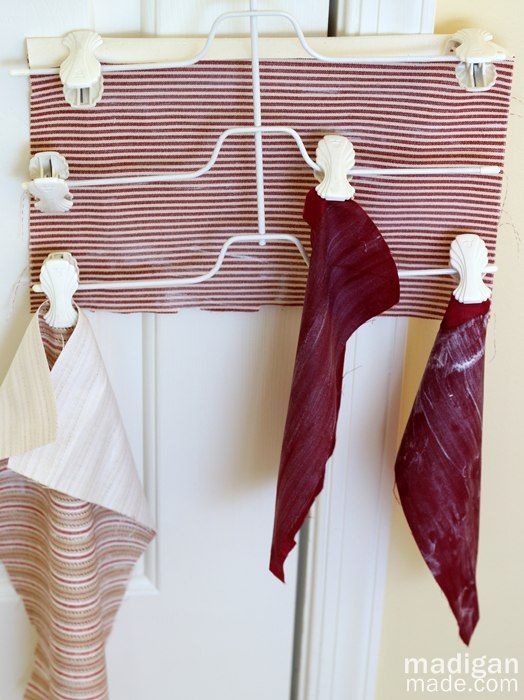
Step Three:
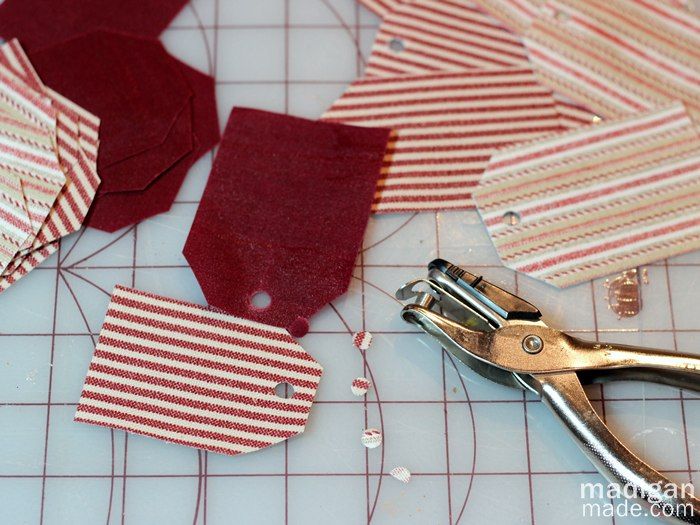
Cut rectangles out of the fabric to the approximate size tag you desire. (Mine were about 3” x 2”)
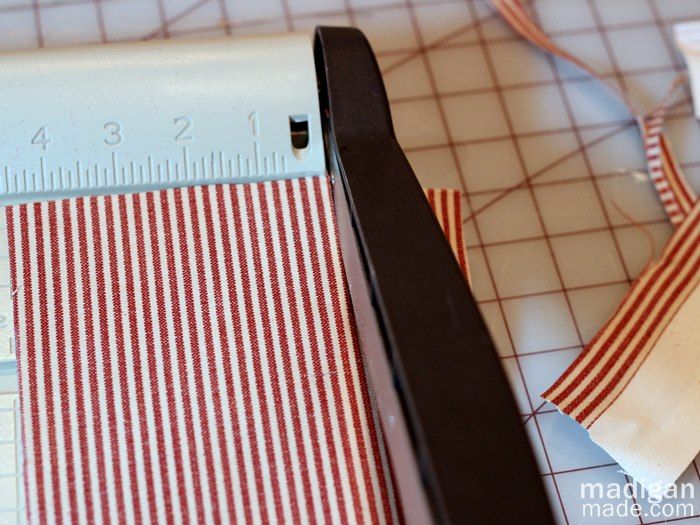
Step Four:
Fold the fabric rectangle lengthwise and snip the corner off of one end to create a ‘tag’ shape.
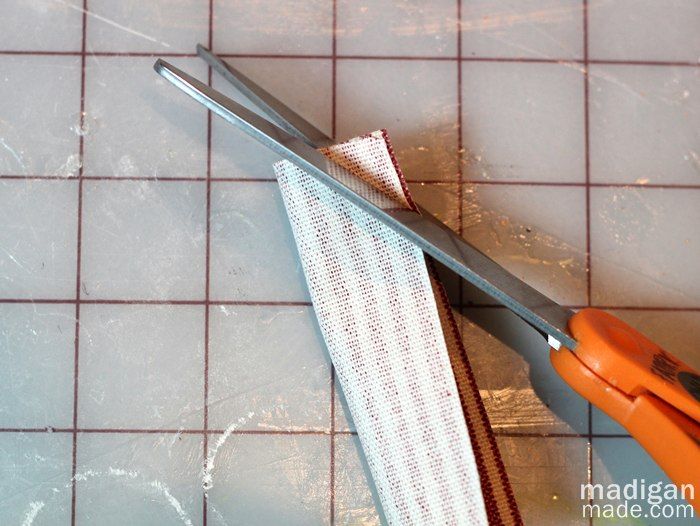
Step Five:
Use a hole punch to create holes in each tag.
Step Six:
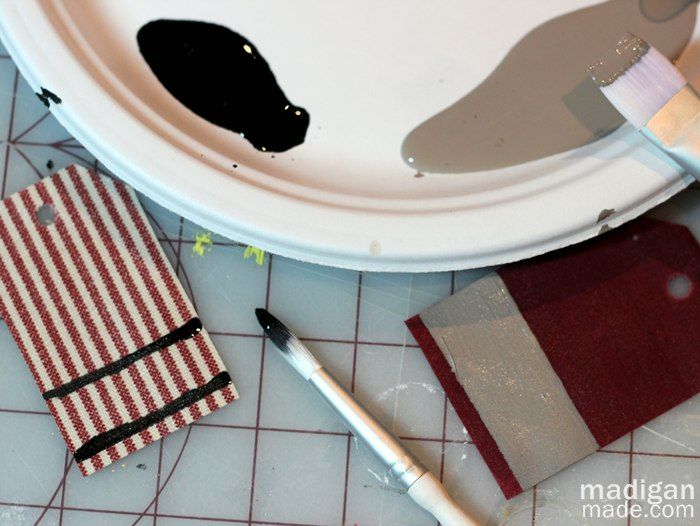
Paint a thick stripe of chalkboard paint at the other end of the tag. Allow that coat to dry and repeat with a second coat. (I tried using gray chalkboard paint on the burgundy fabric but I did not like the way it turned out. They were too plain, so I nixed that version.)
Step Seven:
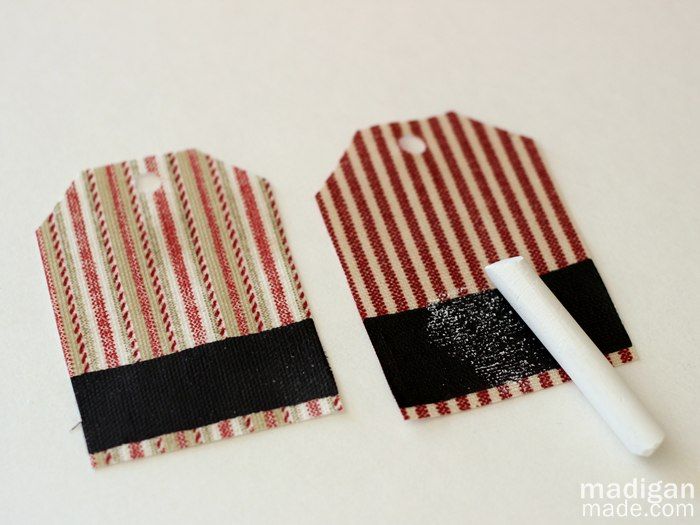
After the chalkboard paint has dried for 24+ hours, you need to prime the “chalkboard” by rubbing the side of a piece of chalk over the painted area. Now you are ready to use (and reuse!) your cute new tags! Just take a piece of chalk to write out your recipient’s name.
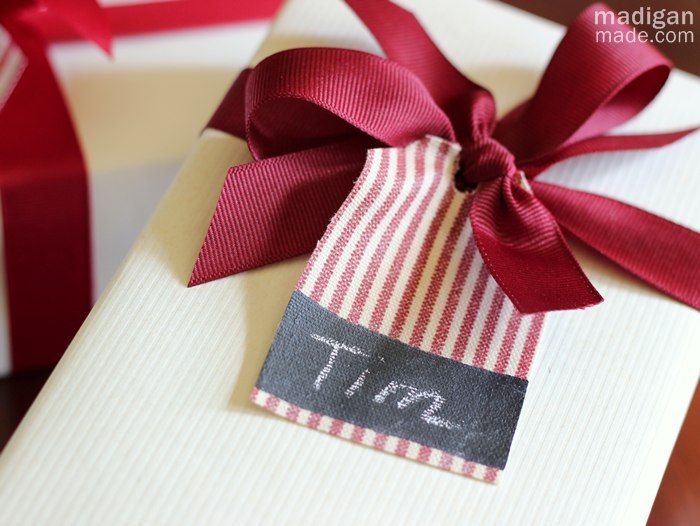
I can’t wait to use these tags this coming Christmas. I also love that I can repeat this process and use different fabrics to create gift tags for any occasion. Plus, it is a great way to use up some of my fabric scraps!
If you crave easy craft ideas like this project, then please find me online and say hi! I’m a big believer that creativity can be THAT simple… let me show you! You can find me over at my blog, Madigan Made, and follow me on Facebook, Twitter, Google+ or Pinterest, too.
Having grown up in a home brimming with sewing notions and paintbrushes, Amy has a deep love for all things creative. On any given day, you’ll find her knee-deep in her latest creative endeavor, with projects ranging from sewing and crafts to home decor and kid-friendly ideas. Amy believes that everyone, regardless of skill level or experience, possesses the ability to create something beautiful, and Positively Splendid was born of her passion for helping others harness their innate creative potential.


Cute! I’m hooked on chalkboard stuff, too! I think you could also fuse your two layers of fabric together with Steam-A-Seam or some other fusible web, which would be much less messy.
Hi! This is such a cute craft. I am a firm believer in sweet and simple. Can’t wait to try this out. -Joanne