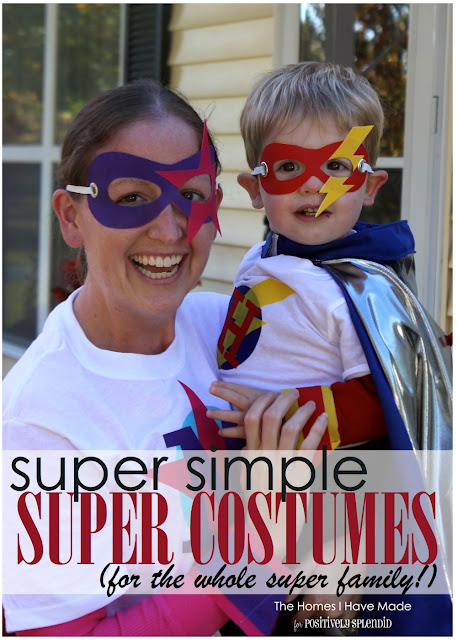
Okay, time to gather your supplies! Here’s what you’ll need:
- Cotton solids in your desired colors
- Heat-n-Bond Ultrahold – this stronger stuff helps to keep things from fraying and ensures you don’t have to sew things into place!
- T-shirts
- Grommets (optional) and grommet tool
- Elastic
Okay…let’s get started with the No-Sew Super T-Shirts!
Follow these basic instructions for EVERY design element for all your different logos:
- Iron Heat-N-Bond to the wrong side of your fabric.
- Place your template face down onto the paper side of the Heat-n-Bond.
- Trace around your template with a pencil.
- Cut out the graphic with a scissors.
Okay, now let’s make the masks.
These are really quick to make and don’t require any sewing!
1. Iron the Heat-n-Bond to the wrong side of your fabric.
2. Trace the mask template outline onto the paper side of the Heat-n-Bond.
3. Cut out the outline of the mask with a scissors.
4. Repeat the process for the graphic that will go on to the mask.
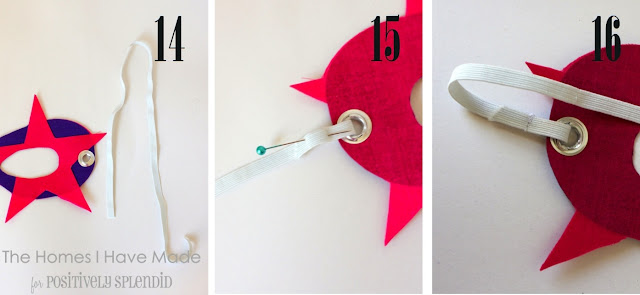
14. The last step is to add elastic. Measure from ear-to-ear (around the back of the head) to determine elastic length.
15. Loop the elastic through the holes/grommets and pin in place.
16. Sew, safety pin, or knot the elastic in place.
Okay, last part: the Super Cuffs!
1. Fuse the Heat-n-Bond to the wrong side of your accent fabric (purple).
2. Cut 2 strips of your base fabric (3″ wide) and 2 strips of your accent fabric (2″ wide).
3. Fuse your accent strip (purple) to the center of your base strip (pink)
4. Fold the strip in half (wrong sides facing) and place the strip around your wrist.
5. To determine the appropriate measurement for the cuff seam, make sure you can easily pull your
hand out of the cuff and pinch the cuff in the right location.
6. Mark the seam location with a pin.
7. Sew the cuff shut (wrong sides together). (This can also be done with a safety pin in a pinch!)
8. Trim the cuff (after the seam) on a 45 degree angle.
9. Repeat with the other strip to make the second cuff.
I hope everyone has a great Halloween! As always, a big thanks to Amy for having me stop by today to share this project with you! And if you like what you see here, be sure to follow me along in my crafting adventures!


Having grown up in a home brimming with sewing notions and paintbrushes, Amy has a deep love for all things creative. On any given day, you’ll find her knee-deep in her latest creative endeavor, with projects ranging from sewing and crafts to home decor and kid-friendly ideas. Amy believes that everyone, regardless of skill level or experience, possesses the ability to create something beautiful, and Positively Splendid was born of her passion for helping others harness their innate creative potential.


Those costumes are absolutely adorable!
So cute!!! Your family looks ready to save the world!!!
This is great! Not just for halloween, but for dress up and pretend play. My son is going to LOVE these! Thank you for sharing!
Love these! Is there any way that I can access the download. Thanks
Hi, Nicole! The download box should display at the bottom of the post. If you are experiencing any issues, though, don’t hesitate to let me know so that I can email them to you!
Hi there,
I love this post and really really want to make these cute superhero bits, but I can’t seem to find a download button… probably me being a technophobe, but hoping you can help me!
I followed your tutorial and produced capes for my own kiddos. I have to admit, they are gorgeous!!! Thanks for the great step-by-step instructions, pictures, and ideas!
What a cute idea! And so simple. Thanks for the Halloween costume idea.
I can’t see the download box can you send them to me please?
this is lovery!!! TOTALLY amazing. thank you for sharing 🙂