I have teamed up with Bucilla to share this post with you. I truly love their products, and it it a pleasure to share 100% honest reviews of them with some of my favorite people–you! I have included affiliate links for some products that I think you’ll find useful.
Some of my earliest childhood memories revolve around sitting and watching my mom as she worked on cross stitch projects. I was fascinated by all of the gorgeous colors and intricate detail! As an adult, one of my creative goals has been to learn to cross stitch, but I’ve always been a bit daunted by where to begin. Lucky for me, Bucilla was kind enough to invite me to try a fun new cross stitch kit that makes getting started with cross stitch super easy–even for beginners! I am so proud with how my first cross stitch project turned out, and today, I am going to share some really helpful beginner cross stitch tips I learned along the way that helped make this first project a success. PLUS, I am giving one lucky ready the opportunity to win a set of each of the new Bucilla Learn to Stitch Kits, so be sure to read on for those details!
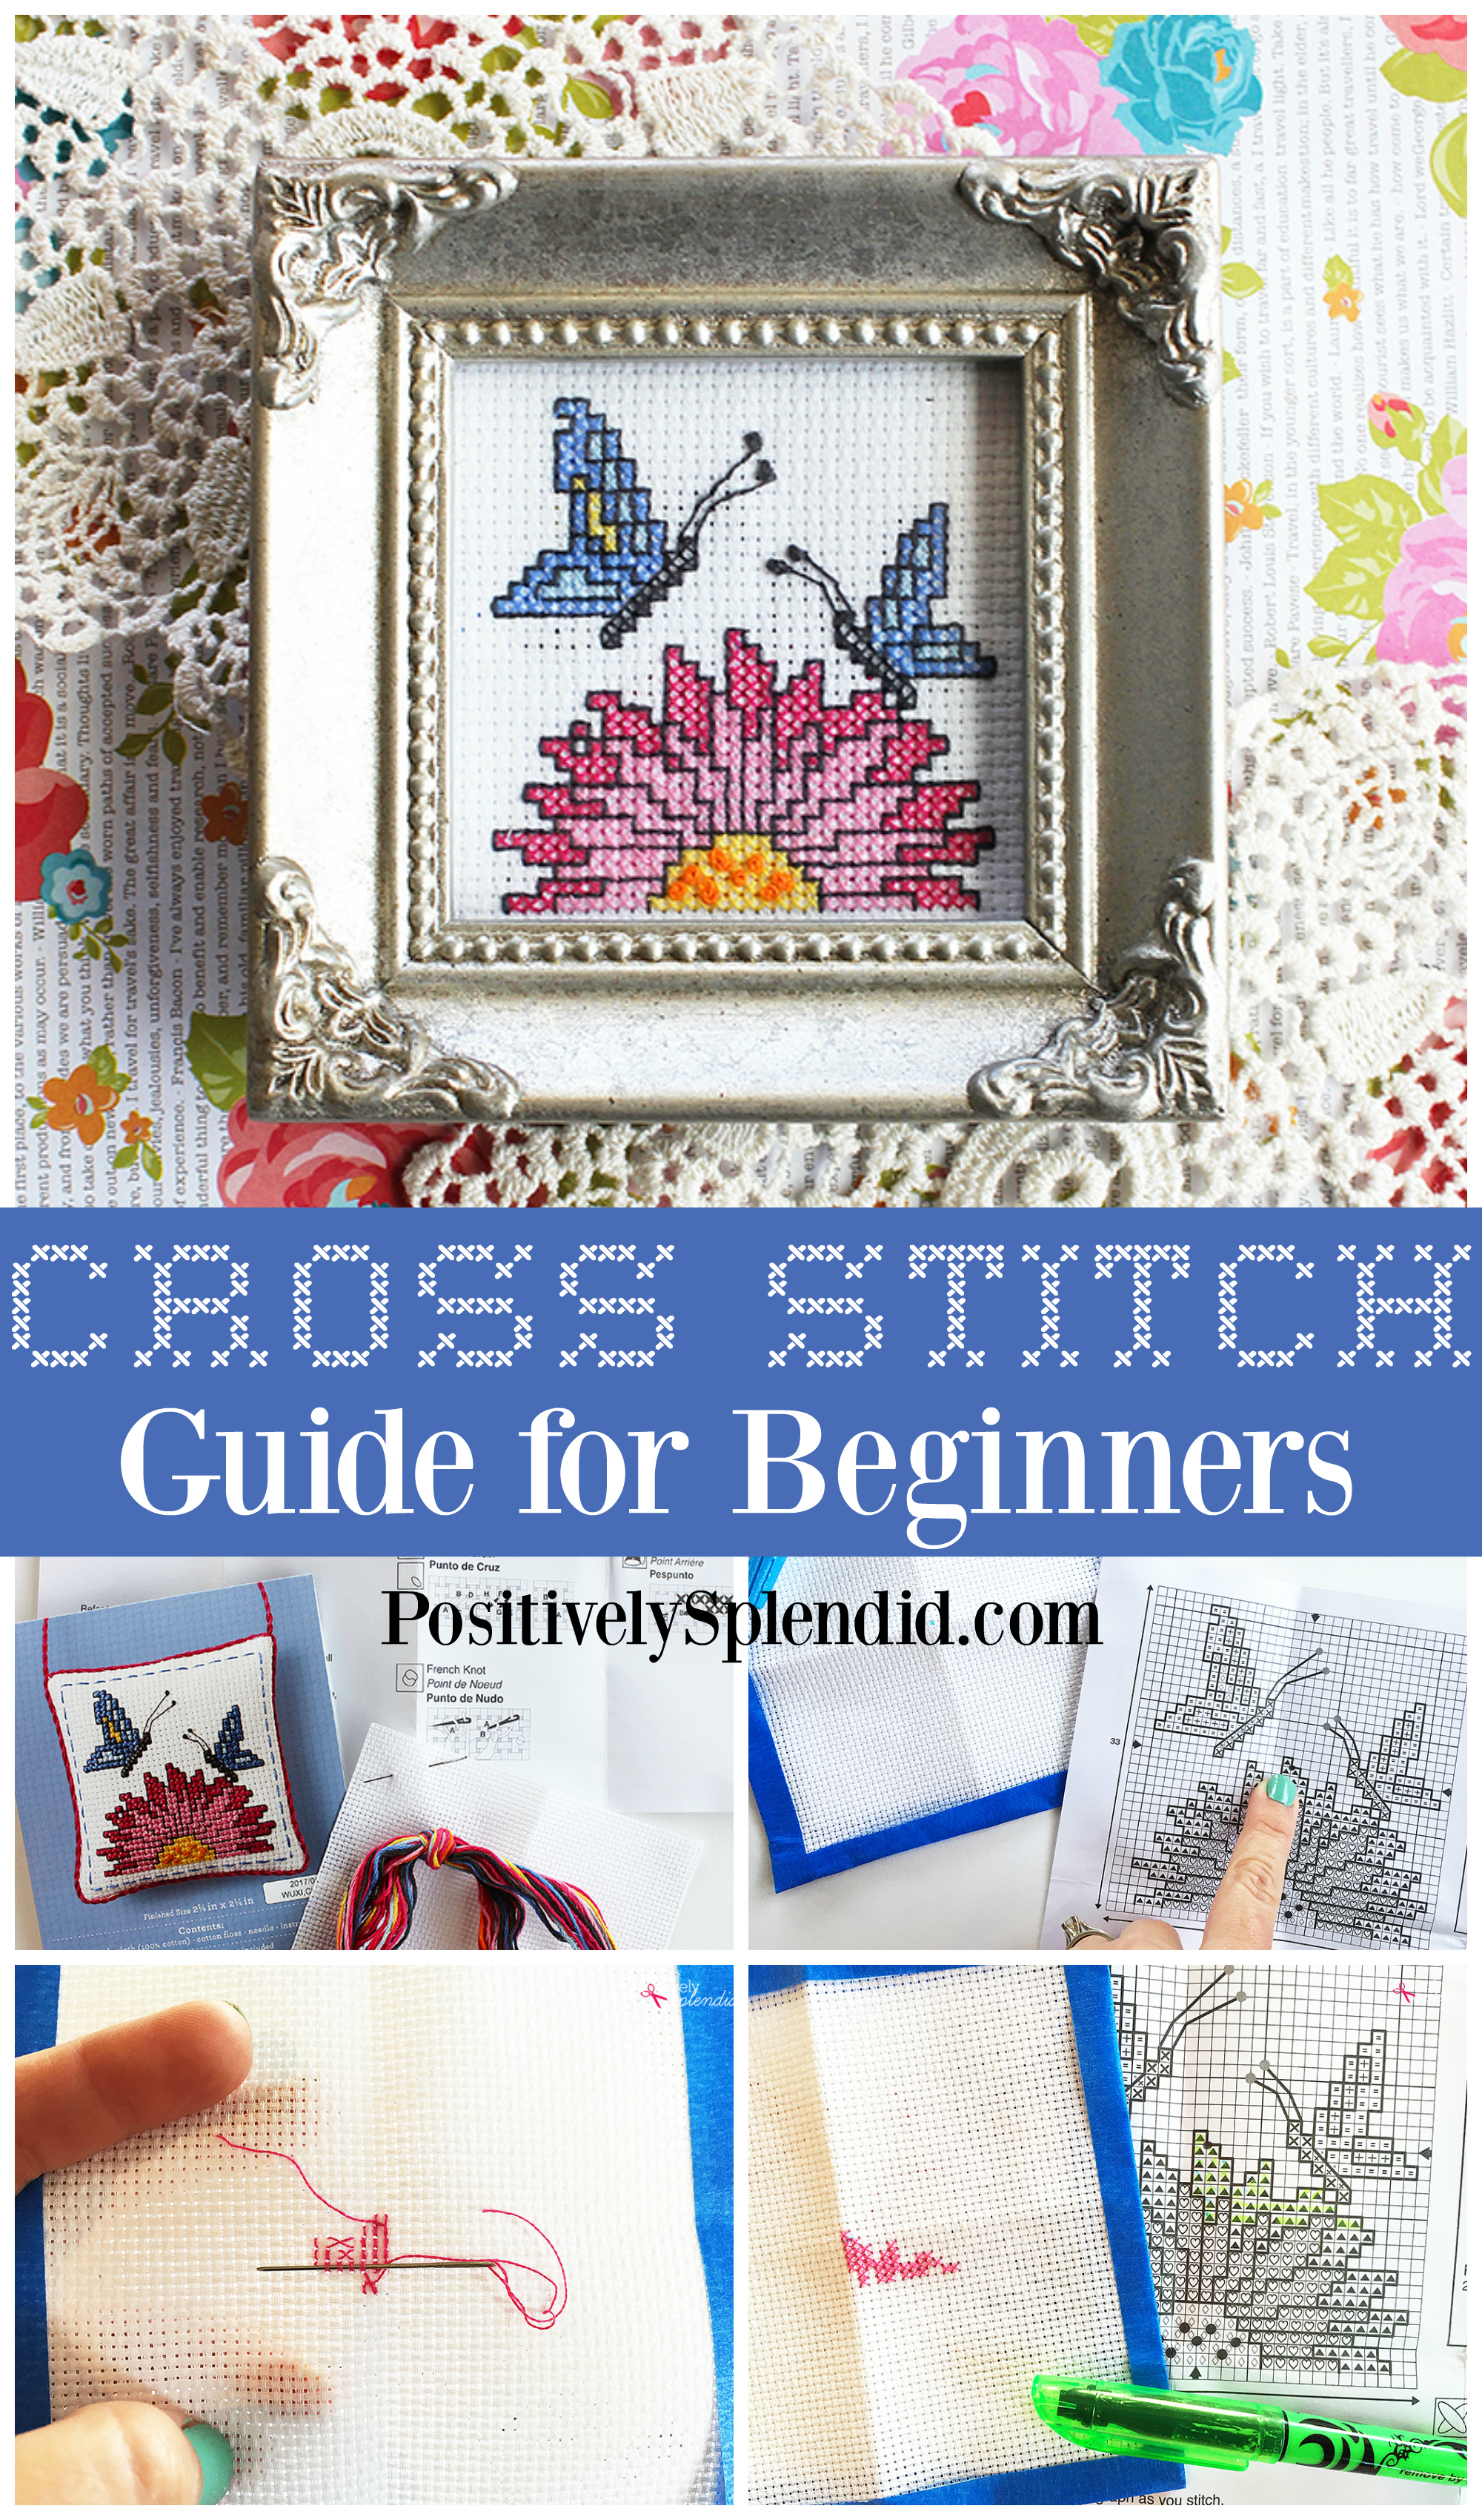
10 Helpful Cross Stitch Tips for Beginners
Tip 1: Start with a project suitable for beginners.
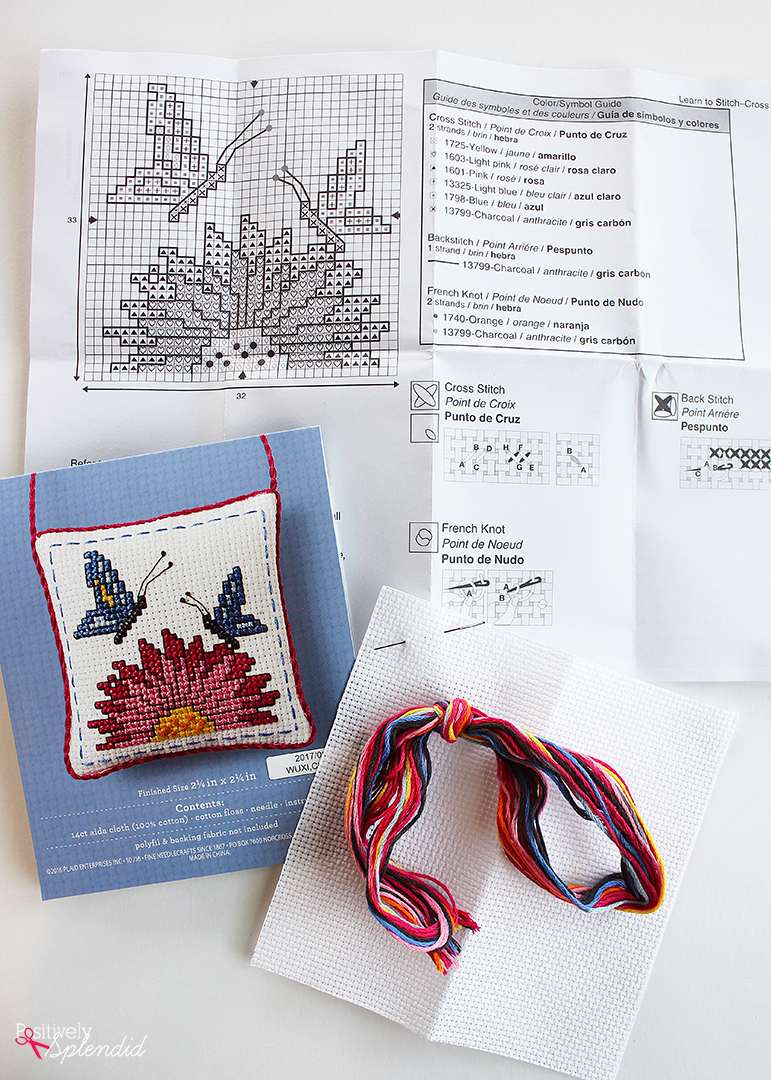
There is no need to set yourself up for frustration with a kit that is overly elaborate or large right out of the gate! This Learn to Stitch Cross Stitch mini kit from Bucilla was such a satisfying project: the small size and fairly basic design made it challenging enough but not overly so. Bucilla is celebrating its 150th year of helping needlecraft enthusiasts this year, and this particular kit was created in addition to Learn to Stitch Felt and Embroidery mini kits to celebrate that impressive milestone!
What I really liked about working with this kit was that everything I needed for this project (minus the frame I used to display it) was all included in the handy little package: cotton floss, aida cloth, needle, and detailed and thorough instructions. Having all of this so readily available made it really convenient and far less overwhelming as a beginner.
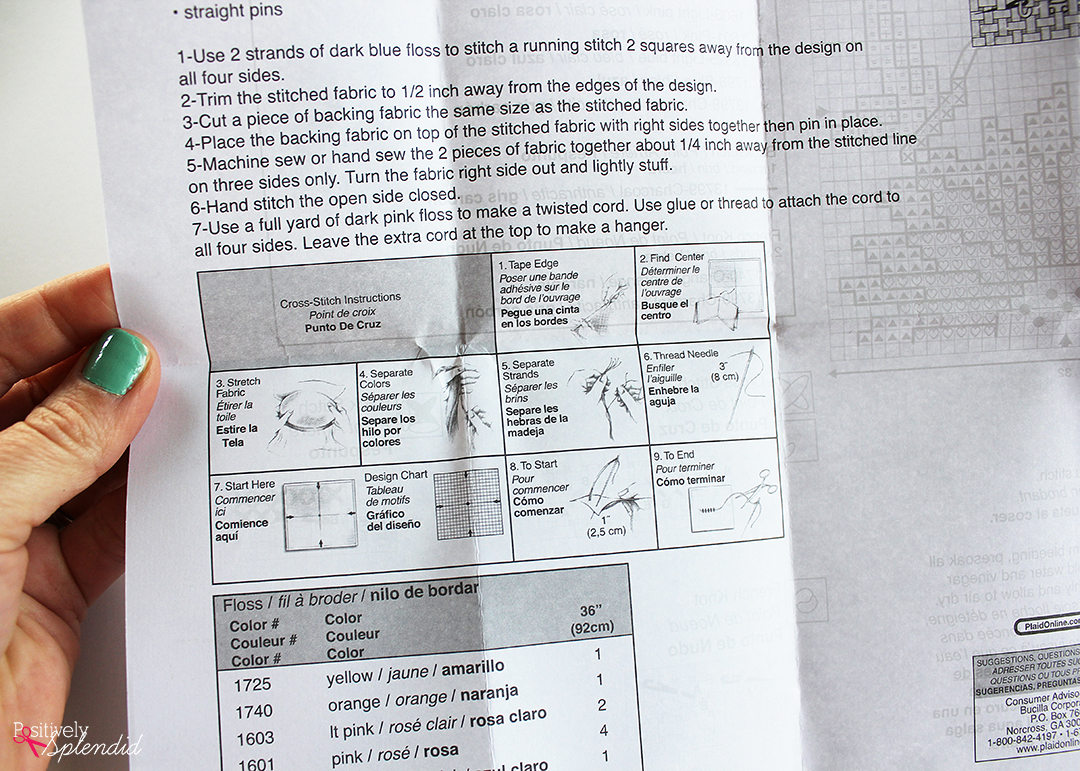
Tip 2: Don’t begin before reading all of the project instructions.
The Bucilla Learn to Stitch Cross Stitch kit includes details for every stitch you will use for the project, including super helpful pictures of how each stitch is made, and how to bind off the stitching on the back of the piece when it is time to switch colors. On the color/symbol guide portion of the instructions, it details which symbols are associated with the different colors in the kit, as well as how many strands of the floss to use for each particular color/stitch. Confession: I learned the hard way the importance of reading all instructions before stitching when I discovered that I had been using the wrong number of strands of floss for the majority of this project–whoops!
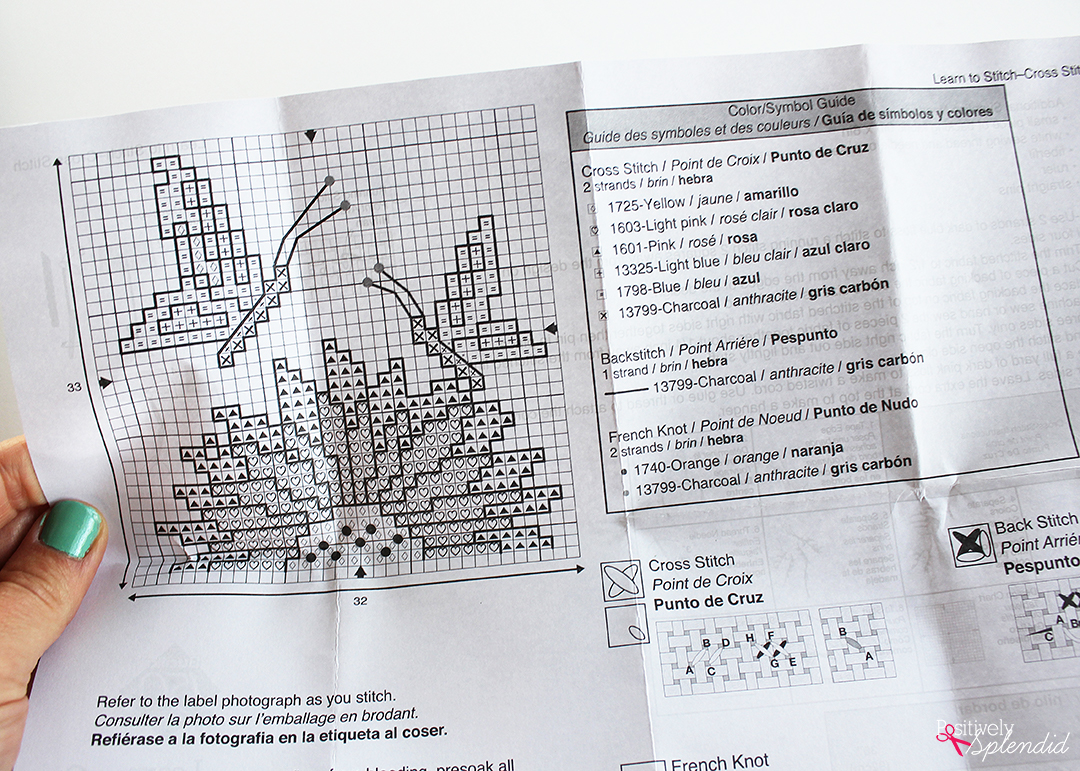
Take some time to read over these so there aren’t any surprises later on, and even consider trying out some of the stitches on a scrap piece of cloth to become more comfortable with the techniques before you begin on your project. With cross stitch, practice really does make perfect (or at least closer to it!).
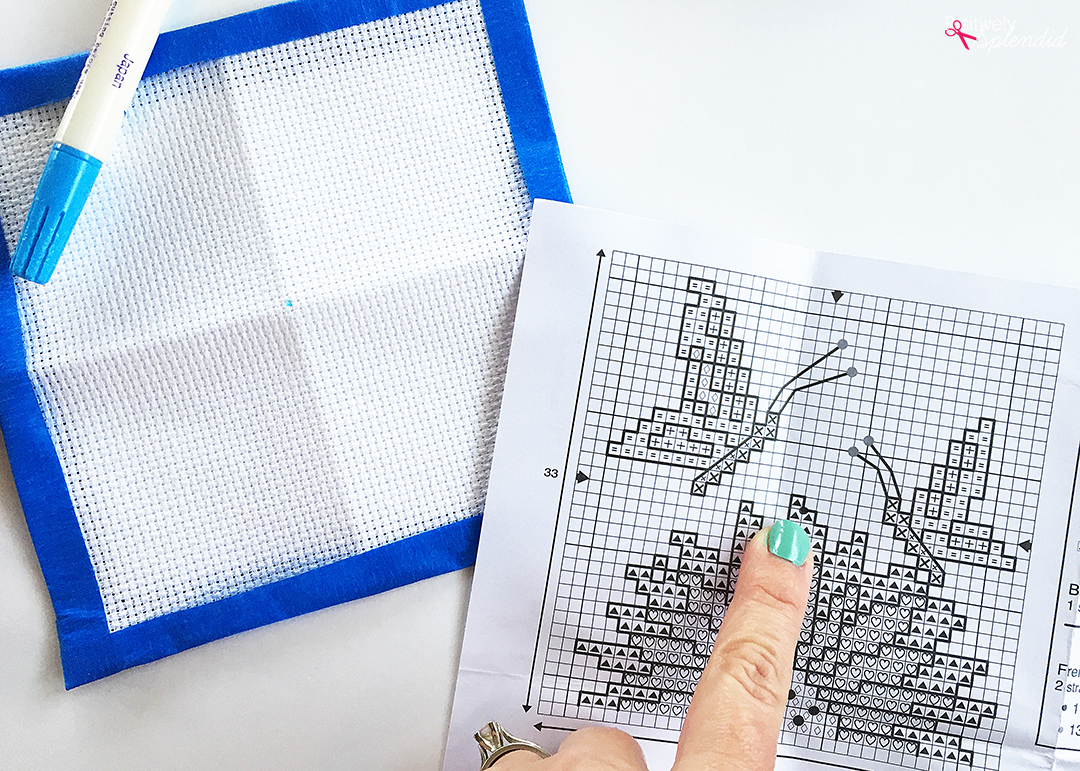
Tip 3: Prepare your cloth before you begin.
The aida cloth tends to fray as it is handled, so make sure you tape off all four of the outer edges of the piece with masking or painter’s tape to prevent that from happening. Although the design doesn’t extend to the extreme outer edges of the piece, you want to maintain enough of a border to enable you to frame the piece later on or create a project with it like a pillow like the one pictured on the front of the package for this kit.
When working with cloth that doesn’t have a nice stiffness like the one provided in this kit, it is helpful to stretch the cloth in an embroidery hoop to maintain a nice tension on the cloth as you work. For me, his particular cloth had an adequate stiffness that made it fine to stitch on without being stretched, but that is completely up to personal preference.
Tip 4: Start at the center of the piece.
The aida cloth included in the kit is very stiff, which means that just by folding the piece into quarters and creasing with your fingers, there will be two very distinct visible lines that will designate the precise center of the piece. Use a washable marking pen to mark that spot. Then, count on the design where the precise center point falls and mark that with a pen. (Notice that the centers of the top, bottom, left and right edges are all marked on the pattern with an arrow, which means you can easily find this point using those markings as your reference point.) I recommend starting your stitches at the center point. This little trick works like a charm to ensure your design is precisely centered on the cloth!
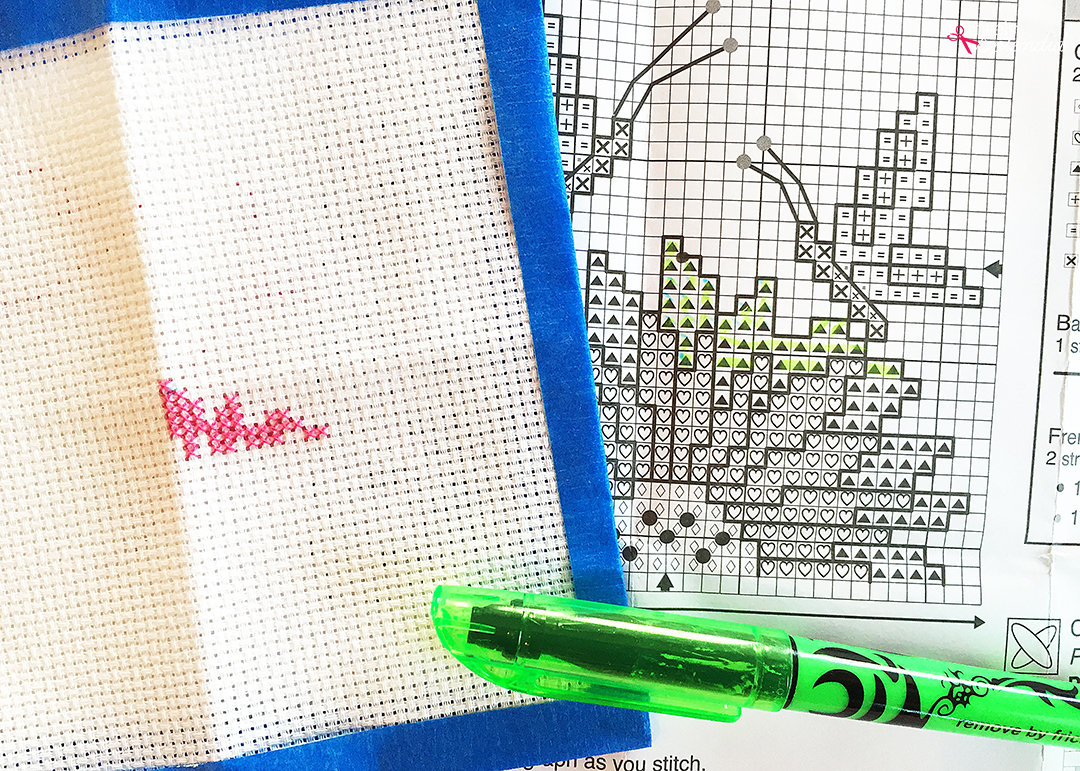
Tip 5: Use a highlighter to keep track of your progress.
I found it incredibly helpful to highlight the completed portions of the design as I finished them to keep track of where I was in the design to avoid misplaced stitches. This worked like a charm for times when I had to put down the work and then come back to it later.
Tip 6: Avoid using really long strands of floss.
It is admittedly very tempting to use a really long strand to avoid having to re-thread the needle numerous times, but trust me: long strands = many, many more tangles! A length of 18 inches is ideal. When pulling apart the strands of floss (the cotton floss provided contains 6 strands grouped together in a cluster), only pull out one strand at a time to avoid having the threads become tangled in the process.
Tip 7: Don’t pull too hard on tangles and knots.
Pulling gently yet firmly is the key to releasing tangles in the floss that might occur as you stitch. Inserting the tip of the needle down through the tangle and then pulling with gentle pressure almost always does the trick and prevents having to trim the floss and start again.
Tip 8: Don’t ever work with your project before washing your hands.
The aida cloth is a bright white that is a magnet for smudges. Take time to wash and dry your hands before you start stitching to ensure your project looks crisp and polished when it’s done.
Tip 9: Save the package image to refer to as you work.
For me, referring to the photo of the finished project on the package was very helpful to track my project and ensure I was on the right track.
Tip 10: Always work in a well lit space.
Counted cross stitch requires a great deal of concentration and focus. Be kind to your eyes and always work in a well lit space to ensure they don’t get strained as you work!
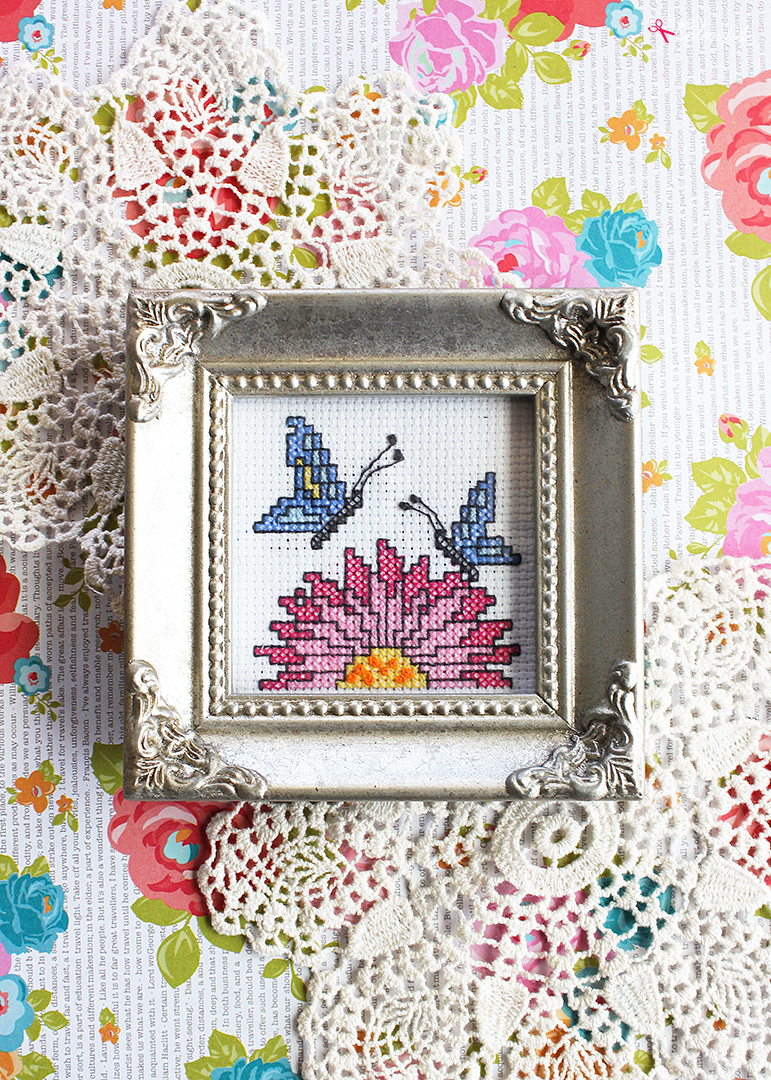
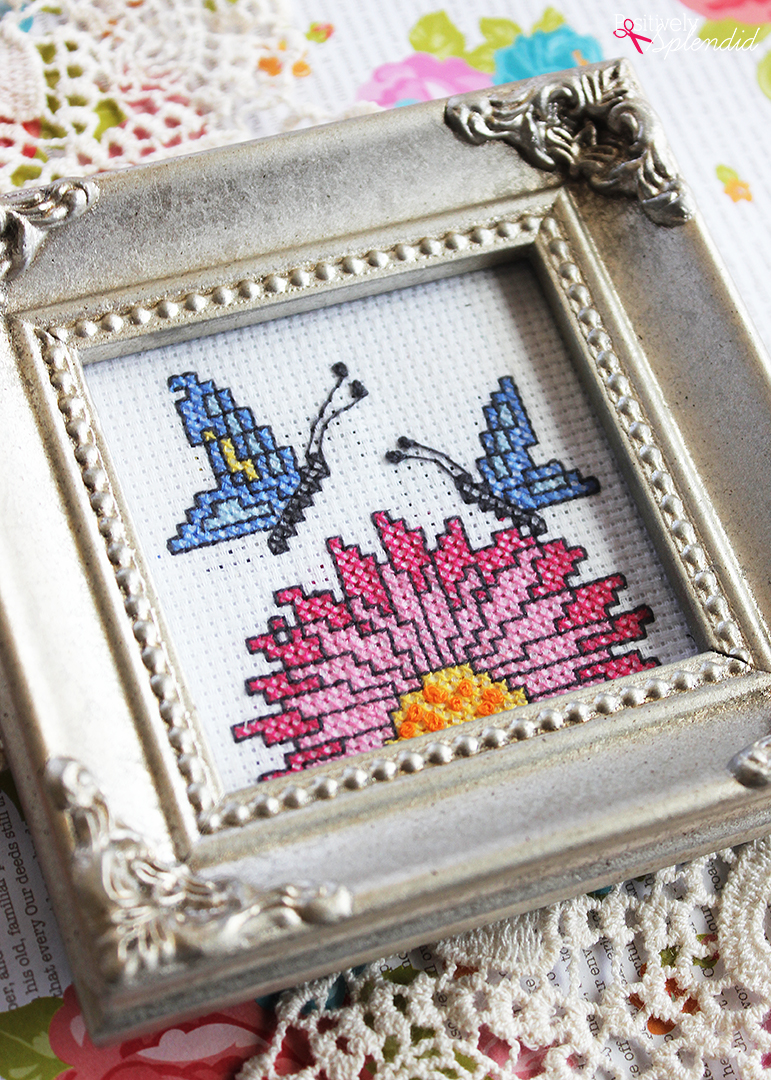
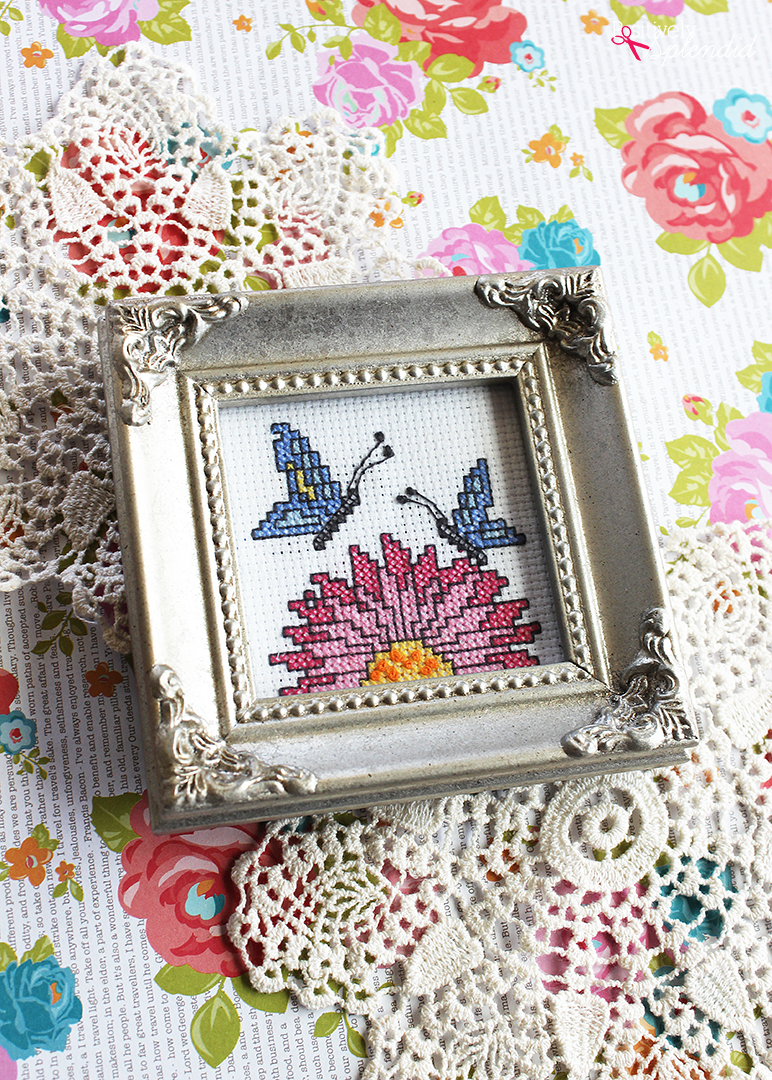
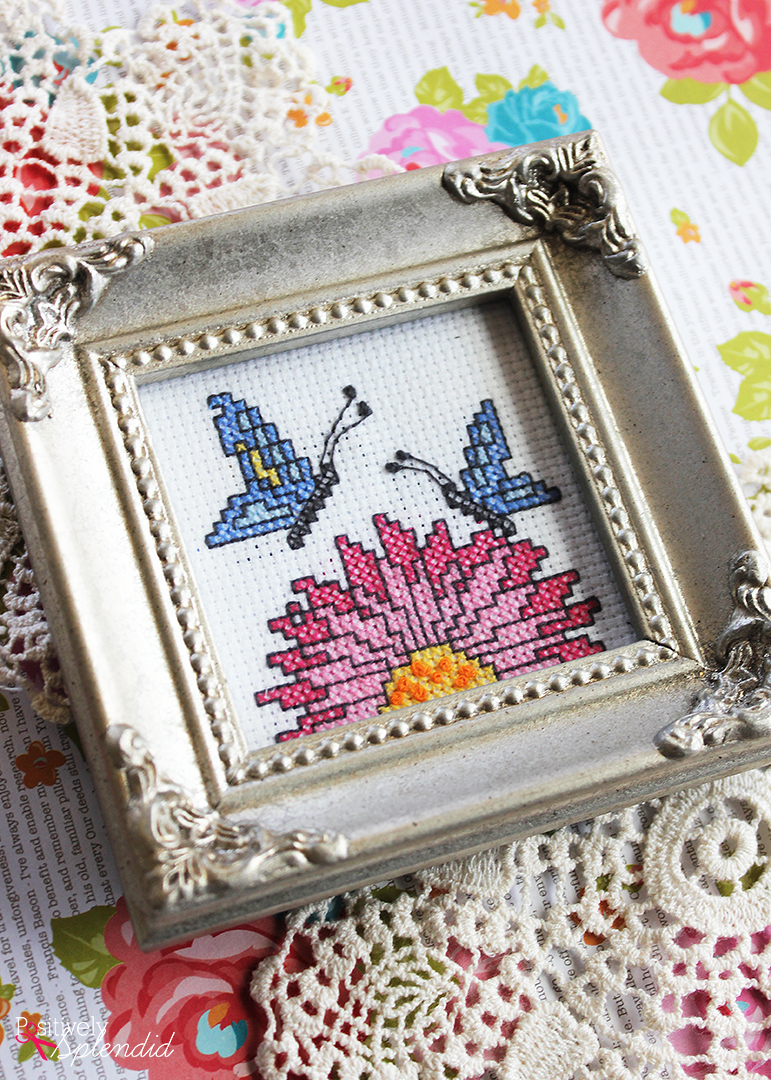
I am so proud of how my very first finished cross stitch project turned out!
By popping it into a frame, it became an instant little work of art to display on my desk!
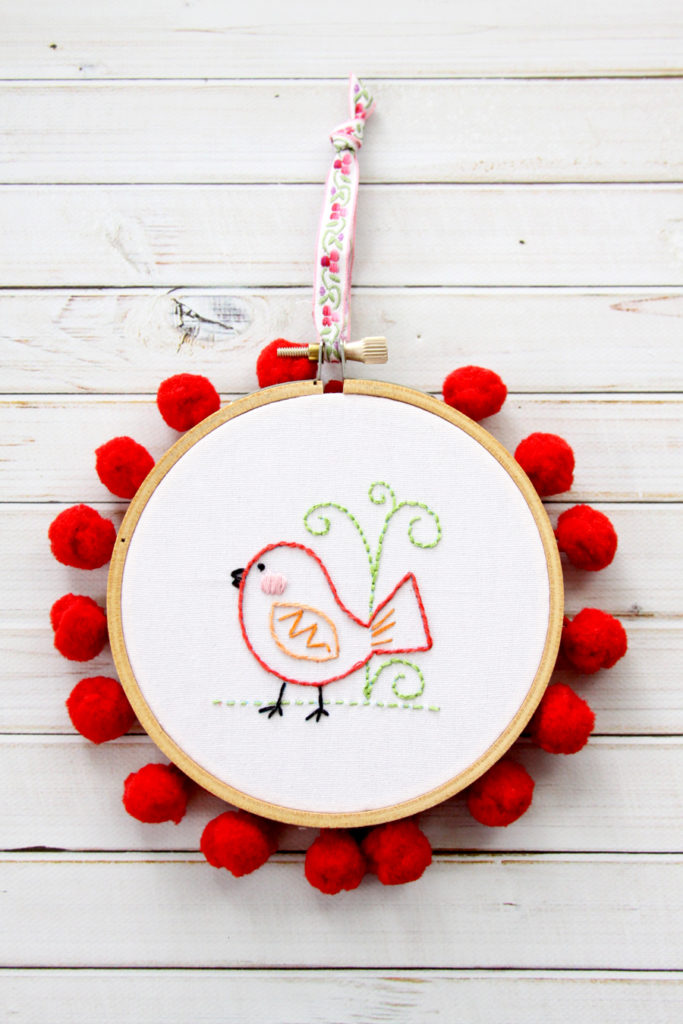
My friend Bev at Flamingo Toes made an adorable version of the embroidery kit that you must see. I love the addition of the pom poms around that sweet bird motif!
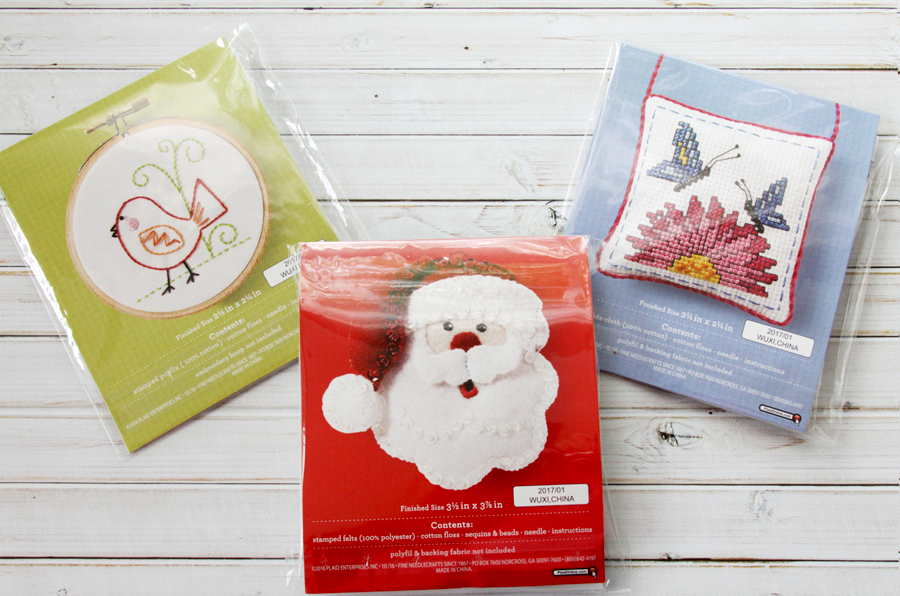
Giveaway time!
ONE lucky reader is going to win a set of each of the three new Bucilla Learn to Stitch Kits, pictured below. All you have to do to enter to win is leave a comment on this post telling me which kit is your favorite. Easy peasy! I will select a winner at random on May 15. Good luck!
I hope you found these cross stitch tips to be helpful! For even more great needlework ideas and cross stitch tips, be sure to check out Bucilla’s site, which also includes some fun FREE patterns!
Having grown up in a home brimming with sewing notions and paintbrushes, Amy has a deep love for all things creative. On any given day, you’ll find her knee-deep in her latest creative endeavor, with projects ranging from sewing and crafts to home decor and kid-friendly ideas. Amy believes that everyone, regardless of skill level or experience, possesses the ability to create something beautiful, and Positively Splendid was born of her passion for helping others harness their innate creative potential.
I love the butterflies, so beautiful, thanks for such an awesome drawing.
I love the simplicity of the little bird embroidery. Thank you for your great cross stitch tutorial.
I love the Santa because it’s not what I would normally work on. The butterflies is classic cross stitch, which I’ve been doing for 30+ years myself. I am now working on small projects with my 9 year old who also loves it! She’s already lining up the big projects she wants to work on. I told her she has to work up to those slowly.
Welcome to the world of cross stitch! It’s relaxing and cathartic.
The little bird is adorable.
Good tips.
I love both the birdie and the flower with butterflies!
The bird is super cute.
I love the bird. It is so adorable. I wouldn’t mind trying my hand at all of these. Cross stitching and I have never gotten along very well. I’d be willing to try agin though!
Love the butterflies and flowers.
The flower and butterflies are my favorite.
I like the Santa! It would be perfect for a Christmas gift!
They are all so cute but the sweet bird is my favorite. Thanks for the tips for the cross stitch.
I LOVE the little birdie!!! So adorable!
Ekkkk that birdie has all my heart. Tue butterflies too.
Thank you for the chance!xxxx
I love both the bird and the butterfly with flowe! Thanks for the helpful information and your beautiful website!
I love butterflies so the butterfly cross stitch is my favorite
I love the little bird. So cute!
The birdie gets my vote–love the simplicity.
I would love to learn cross stitch & the Santa is just too cute, but my favorite is the cute little bird. I really like to embroider because It is so relaxing. Thank you Amy for the giveaway & God bless.
Your framed butterfly picture…what a great memento of your first piece!
I would like to join you in learning to cross-stitch on this beginner butterfly kit.
I have been embroidering since a young girl but have never done any cross-stitching.
Now is the time!
I ❤️ the sweet little bird
I love the bird cross stitch! I have been wanting to start cross stitching and what a great way to start!
I love butterflies ! That’s my favorite one
The butterfly pattern is my favorite! So pretty! Thank you for offering the drawing, Amy!
I love the cross stitch kit, but the Santa is also very cute!
I have tried several times to do counted cross stitch – your tips helped break this down. I think I can try this again!
Have a blessed day!
Sing a song little birdie! You make me happy just to look at you. Best tip is to read through all instructions before beginning although like me you just can’t hardly wait to start.
I think that all of them are cute, but I like the bird the best. Thanks for tips, I have just gotten into cross stitch myself, so I appreciate any help
I’ve crossed stitched for years. And it is great fun. Now I want to learn a little more about embroidery. So, I’m going for the little bird protect. Adorable!
Carolyn
My favorite was the butterfly kit. Beautiful!
I love the cross stitch kit but the embroidery kit is a close second. Your project came out great!
So cute! I love the bird and butterflies.
I like the butterflies and flower ????????????
The bird pattern is so sweet! I’d love to try that one.
The flower and the butterflies is my favorite. It is so simple and elegant. I was looking for a simple cross-stitch to start my young niece on and I think I just found it.
love the birdie
The bird is the best. (Poor Santa is getting any love.)
Both kits are aforable‼just started up cross stitching to take on our rv trips. Thanks for the chance to win a kit.
I love the cute little bird!
I love the little Santa! Thank you for the opportunity!
Im in love with santas!
I like the butterfly cross stitch best, especially the way that you finished it up in the frame. The colors are so pretty and bright.
The butterfly’s & flower kit is perfect for me to teach my Granddaughter my love for cross stitch !!!
The embroidery is adorable
I like the butterfly cross stitch the best. Would love to teach my granddaughter!
Can I love all three? They are all adorable!
I have a kid who would love that cute bird one!