- 1/4″ thick MDF, trimmed to 23.75 x 35.75 (Make sure your board is trimmed about a 1/4″ smaller than the frame you intend to put it in to ensure a proper fit. Take it from the girl whose arm nearly fell off after she neglected to do this and had to spend an hour sanding hers down by hand!)
- Primer
- 24×36″ frame
- Paint in your desired color (Martha says to use a flat finish, but I used satin with fine results) – I used a sample of La Fonda Tile Red Valspar paint from Lowe’s
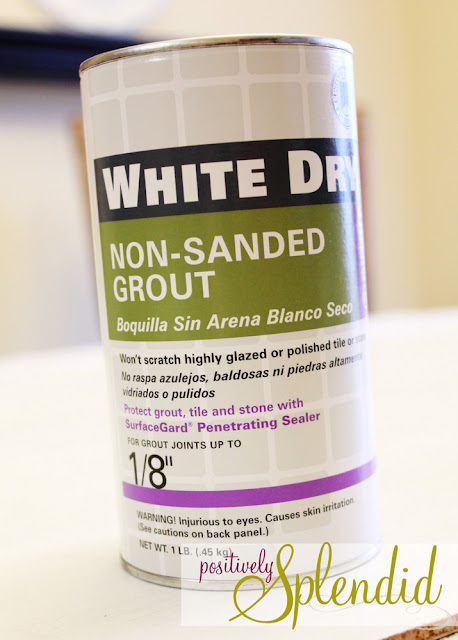
- Unsanded tile grout
- Stir stick
- A small foam paint roller
- Fine-grit sandpaper (if necessary)
- Chalk
step one
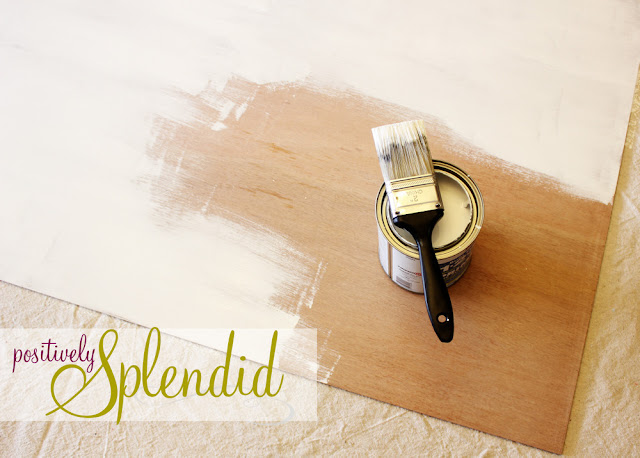
Apply a coat of primer to your board, and allow it to dry completely. While your board is drying, mix your chalk paint.
step two
Place 1 tablespoon of tile grout in a small bowl and use your fingers to meticulously break up any clumps. It is very, very important that there are no clumps in your grout, to avoid having to sand and repaint your board to smooth it out later on. I learned this lesson the hard way! Now, pour 1/2 cup of paint into the same bowl, and use a stir stick to very thoroughly mix the paint and grout together. Again, your goal here is to have a paint/grout mixture that is as smooth as possible.
See how many clumps there are in this batch? This was my first attempt, before I came up with the idea to break apart the clumps of grout before mixing in the paint.
step three
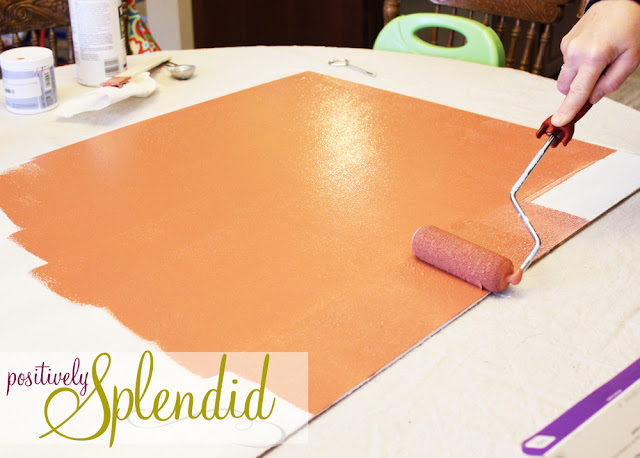
Use your roller to apply the chalk paint to your primed board, working in smooth, even strokes. Apply two even coats of paint to your board, allowing the paint to dry between coats, making sure the entire board is covered. If you run out of chalk paint as you work, mix another batch as you did before. Allow your painted board to dry completely.
step four
Once everything is dry, examine the surface of the board. Is it free of any visible clumps or bumps? Is the surface of your board completely covered in an even layer of color? If so, go you! You can proceed to step 5.
If the answer to those questions is no, you’ll need to sand everything lightly with fine-grit sandpaper, and then apply another even coat of your chalk paint. Unless you have a ton of large clumps of the grout visible on the surface of your board, I would highly recommend skipping this step. I actually had to redo my board after my first attempt, because when I sanded it after it was dry, sanding away the clumps resulted in a swath of white dots all over the surface of my board where the paint was rubbed off along with the grout. The best way to avoid this hassle is to make sure your grout is completely clump-free before you mix it with your paint so that the surface of your board is free of bumps after you paint.
step five
Now, rub a piece of chalk over the entire surface of your board and wipe it away to condition your board. Your brand-new, custom-colored chalkboard is now ready for use!
***
The framed magnetic board I made for this space might possibly be my easiest DIY effort ever!
To put it together, I purchased a pre-cut piece of 24×36″ galvanized sheet metal (make sure it is galvanized so that magnets will stick to it) and a 24×36″ poster frame from Hobby Lobby at 50% off, the same style I used for my chalkboard. I opted to use ready-made frames for these projects to save time by avoiding having to paint the frames before I used them. Additionally, using a standard size like 24×36″ eliminated the need to trim down my sheet metal to fit into my frame. Of course, if you have a thrifted frame you want to use for this, go right ahead! You’ll just have to measure your frame and trim your sheet metal accordingly.
If using a store-bought frame, remove the glass from the frame, and then carefully insert your sheet metal in its place. Replace the frame backing piece, and then use the tabs on the back of the frame to secure everything in place. So simple!
I outfitted my frame with the sheet metal flower magnets I shared a couple of years ago. I love how they tap into the color scheme of the space!
Want to bookmark these ideas to refer to later on? Add them to Pinterest! You can do so easily by clicking the button below.
***
I’ll be sharing the full details of my board and batten experience later this week. If you have been afraid to tackle a project like this one because you feel it’s beyond the realm of your DIY readiness, this will be a must-read. You won’t believe how easy it is to do!

Having grown up in a home brimming with sewing notions and paintbrushes, Amy has a deep love for all things creative. On any given day, you’ll find her knee-deep in her latest creative endeavor, with projects ranging from sewing and crafts to home decor and kid-friendly ideas. Amy believes that everyone, regardless of skill level or experience, possesses the ability to create something beautiful, and Positively Splendid was born of her passion for helping others harness their innate creative potential.


This is so adorable, I have got to pin this & save for later! Thanks for sharing!
I love the color your picked for your chalkboard. It makes a chalkboard so much more sophisticated, if that’s possible… 🙂
What about using a mortar and pestle on the grout first? What do you think?
Loooove the custom color! I’m thinking I need one in aqua, yes? I can’t wait to see your board and batten tutorial…I love the look, but I’m not sure I can get the hubs to agree to help. 😉
Oh my! I’ve been telling my 8 year old son for months now that I was going to make him a magnetic board for his new room (so he better not put anything on the walls) but was dreading and had no idea how to make one. This is perfect. Thanks so much!!
I have a question.
Is the chalkboard heavy?
I want one for my dining room, but I don’t want it to be too heavy.
Biz
I never knew that adding grout would create a chalk board! What a great idea! Going one better would be to put the magnetic paint UNDER the chalk paint. I did that with a peg board….I can hang things on it as well as use magnets with it. However, the chalk board effects might bump it up even further.
I just want to tell you how much I appreciate that you posted this! My kitchen walls are painted paneling & I’ve wanted to paint a big chalkboard in the middle of my wall, but I can’t afford to rip out the paneling and replace with drywall & filling the grooves in is painstaking & ineffective. This is the perfect solution!! Yours looks awesome!