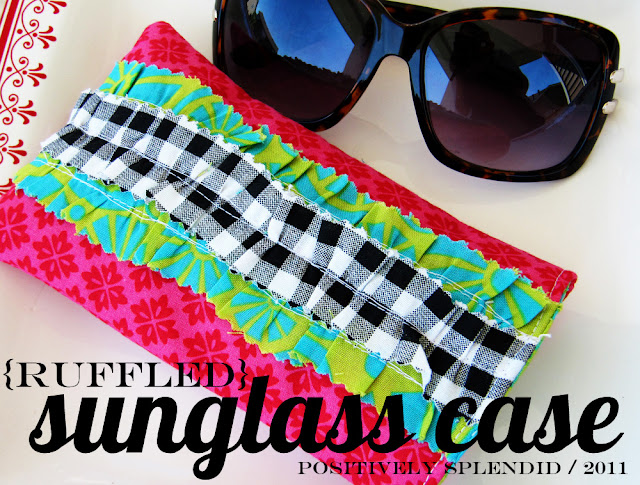
Happy Monday! It’s another week of the Summer Survival Guide, and the lineup of terrific I have to share is downright amazing! Let’s kick things off with a little sewing project courtesy of yours truly, shall we?
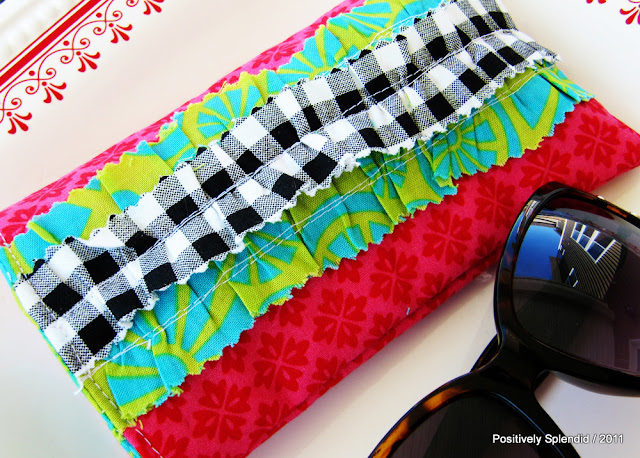
What could possibly be more summery than your favorite pair of shades? This little project will keep them fashionably well protected when you’re out and about! And the best part is this project is so quick and easy, you can easily put it together in one sitting.
For this project, you will need…
Scrap fabric, three different patterns
Fusible fleece
Pinking shears
Coordinating thread
Basic sewing supplies: machine, shears, etc.
Prep Work
Start by cutting your fabric to the following dimensions:
(2) 4.5 x 7-inch outer pieces from fabric 1
(2) 4.5 x 7-inch lining pieces from fabric 2
(2) 4.5 x 7-inch pieces of fusible fleece
(2) 1 x 13-inch strips from fabric 2 (cut with pinking shears to prevent fraying)
(1) 1 x 13-inch strip from fabric 3 (cut with pinking shears to prevent fraying)
Note: If you would rather and you have a serger, finish the long edges of your 1 x 13-inch strips with a rolled hem for a polished look.
step 1 / Ruffle each of your 1 x 13-inch strips using your preferred ruffling method. I like to use the method I detail in this post to make things particularly easy. Pin your two ruffles cut from fabric 2 to one of your outer pieces, so that the top edge of the top ruffle and the bottom edge of the bottom ruffle are 1 inch away from the top and bottom edges of the outer piece, as shown. Stitch down the center of these ruffles to secure them to your outer piece. Center your remaining ruffle piece on top of the ruffles you just stitched, as shown, and stitch down the center to secure it in a similar fashion. Trim off any portions of your ruffles that extend past the edge of your main piece, so that your edges are nice and straight.
step 2 / Iron your fusible fleece pieces to the wrong side of your main pieces. Place your lined main pieces right sides together, and use a 1/4″ seam to stitch the pieces together, leaving one of the short ends open. Stitch your lining pieces together in the same manner. Clip your corners, and turn each stitched piece right side out. Press. Now, with your outer piece right side out, and your lining piece wrong-side out, slip your outer piece down inside your lining piece, as shown. Line up the raw (unstitched) top edges of each piece; pin. Stitch along this edge with a 1/4″ seam, leaving 2 inches or so open for turning.
step 3 / Turn your assembled case right-side out through the opening you left in step 2. Press this seam so it lays nice and flat. Pin the opening shut, as shown, and carefully stitch 1/8″ away from the edge around the entire top opening of your case, closing the opening as you stitch.
You are finished!
Be sure to stop back in later today for another fun summer project from another of my favorite bloggers!

Having grown up in a home brimming with sewing notions and paintbrushes, Amy has a deep love for all things creative. On any given day, you’ll find her knee-deep in her latest creative endeavor, with projects ranging from sewing and crafts to home decor and kid-friendly ideas. Amy believes that everyone, regardless of skill level or experience, possesses the ability to create something beautiful, and Positively Splendid was born of her passion for helping others harness their innate creative potential.


So pretty for summer!!! I linked to your tutorial on Craft Gossip Sewing:
http://sewing.craftgossip.com/tutorial-ruffled-sunglass-case/2011/05/09/
–Anne
LOVE the ruffled sunglass case!!
I’d love to feature you as a guest poster on my blog and feature a tutorial of your choice! Email me if you’re interested.
[email protected]
http://www.seaminglysmitten.blogspot.com
Jenny
Very fun! And, of course, perfect colors for summer. Love that you used the pinking shears to trim your ruffles.
Amy that case is too cute! I need to get busy making some fun ruffles:) These would make really cute teacher’s gifts for the end of the year!
So cute! And reminds me that I need some new sunglasses. I do actually need them for a couple of months around here.
This is adorable – now – keep in mind I risk my man card by saying that – it is no small thing. And I could do this too – if only I had a sewing machine – and knew how to use it if I had one. Now I’m going to go put my man card in double jeopardy and tweet this – wish me luck with the other boys!!! God Bless.
Super cute!
adorable! great idea, too- mine are always getting scratched because i don’t have a case for them. 🙂
This is adorable and I appreciate your great instructions! I’m a beginning sewer and this is so helpful to see how to get the fleece side together inside! Will be trying this right away 🙂 Great series Amy!